Biking the World’s Most Dangerous Road in My Chacos

biking death road group

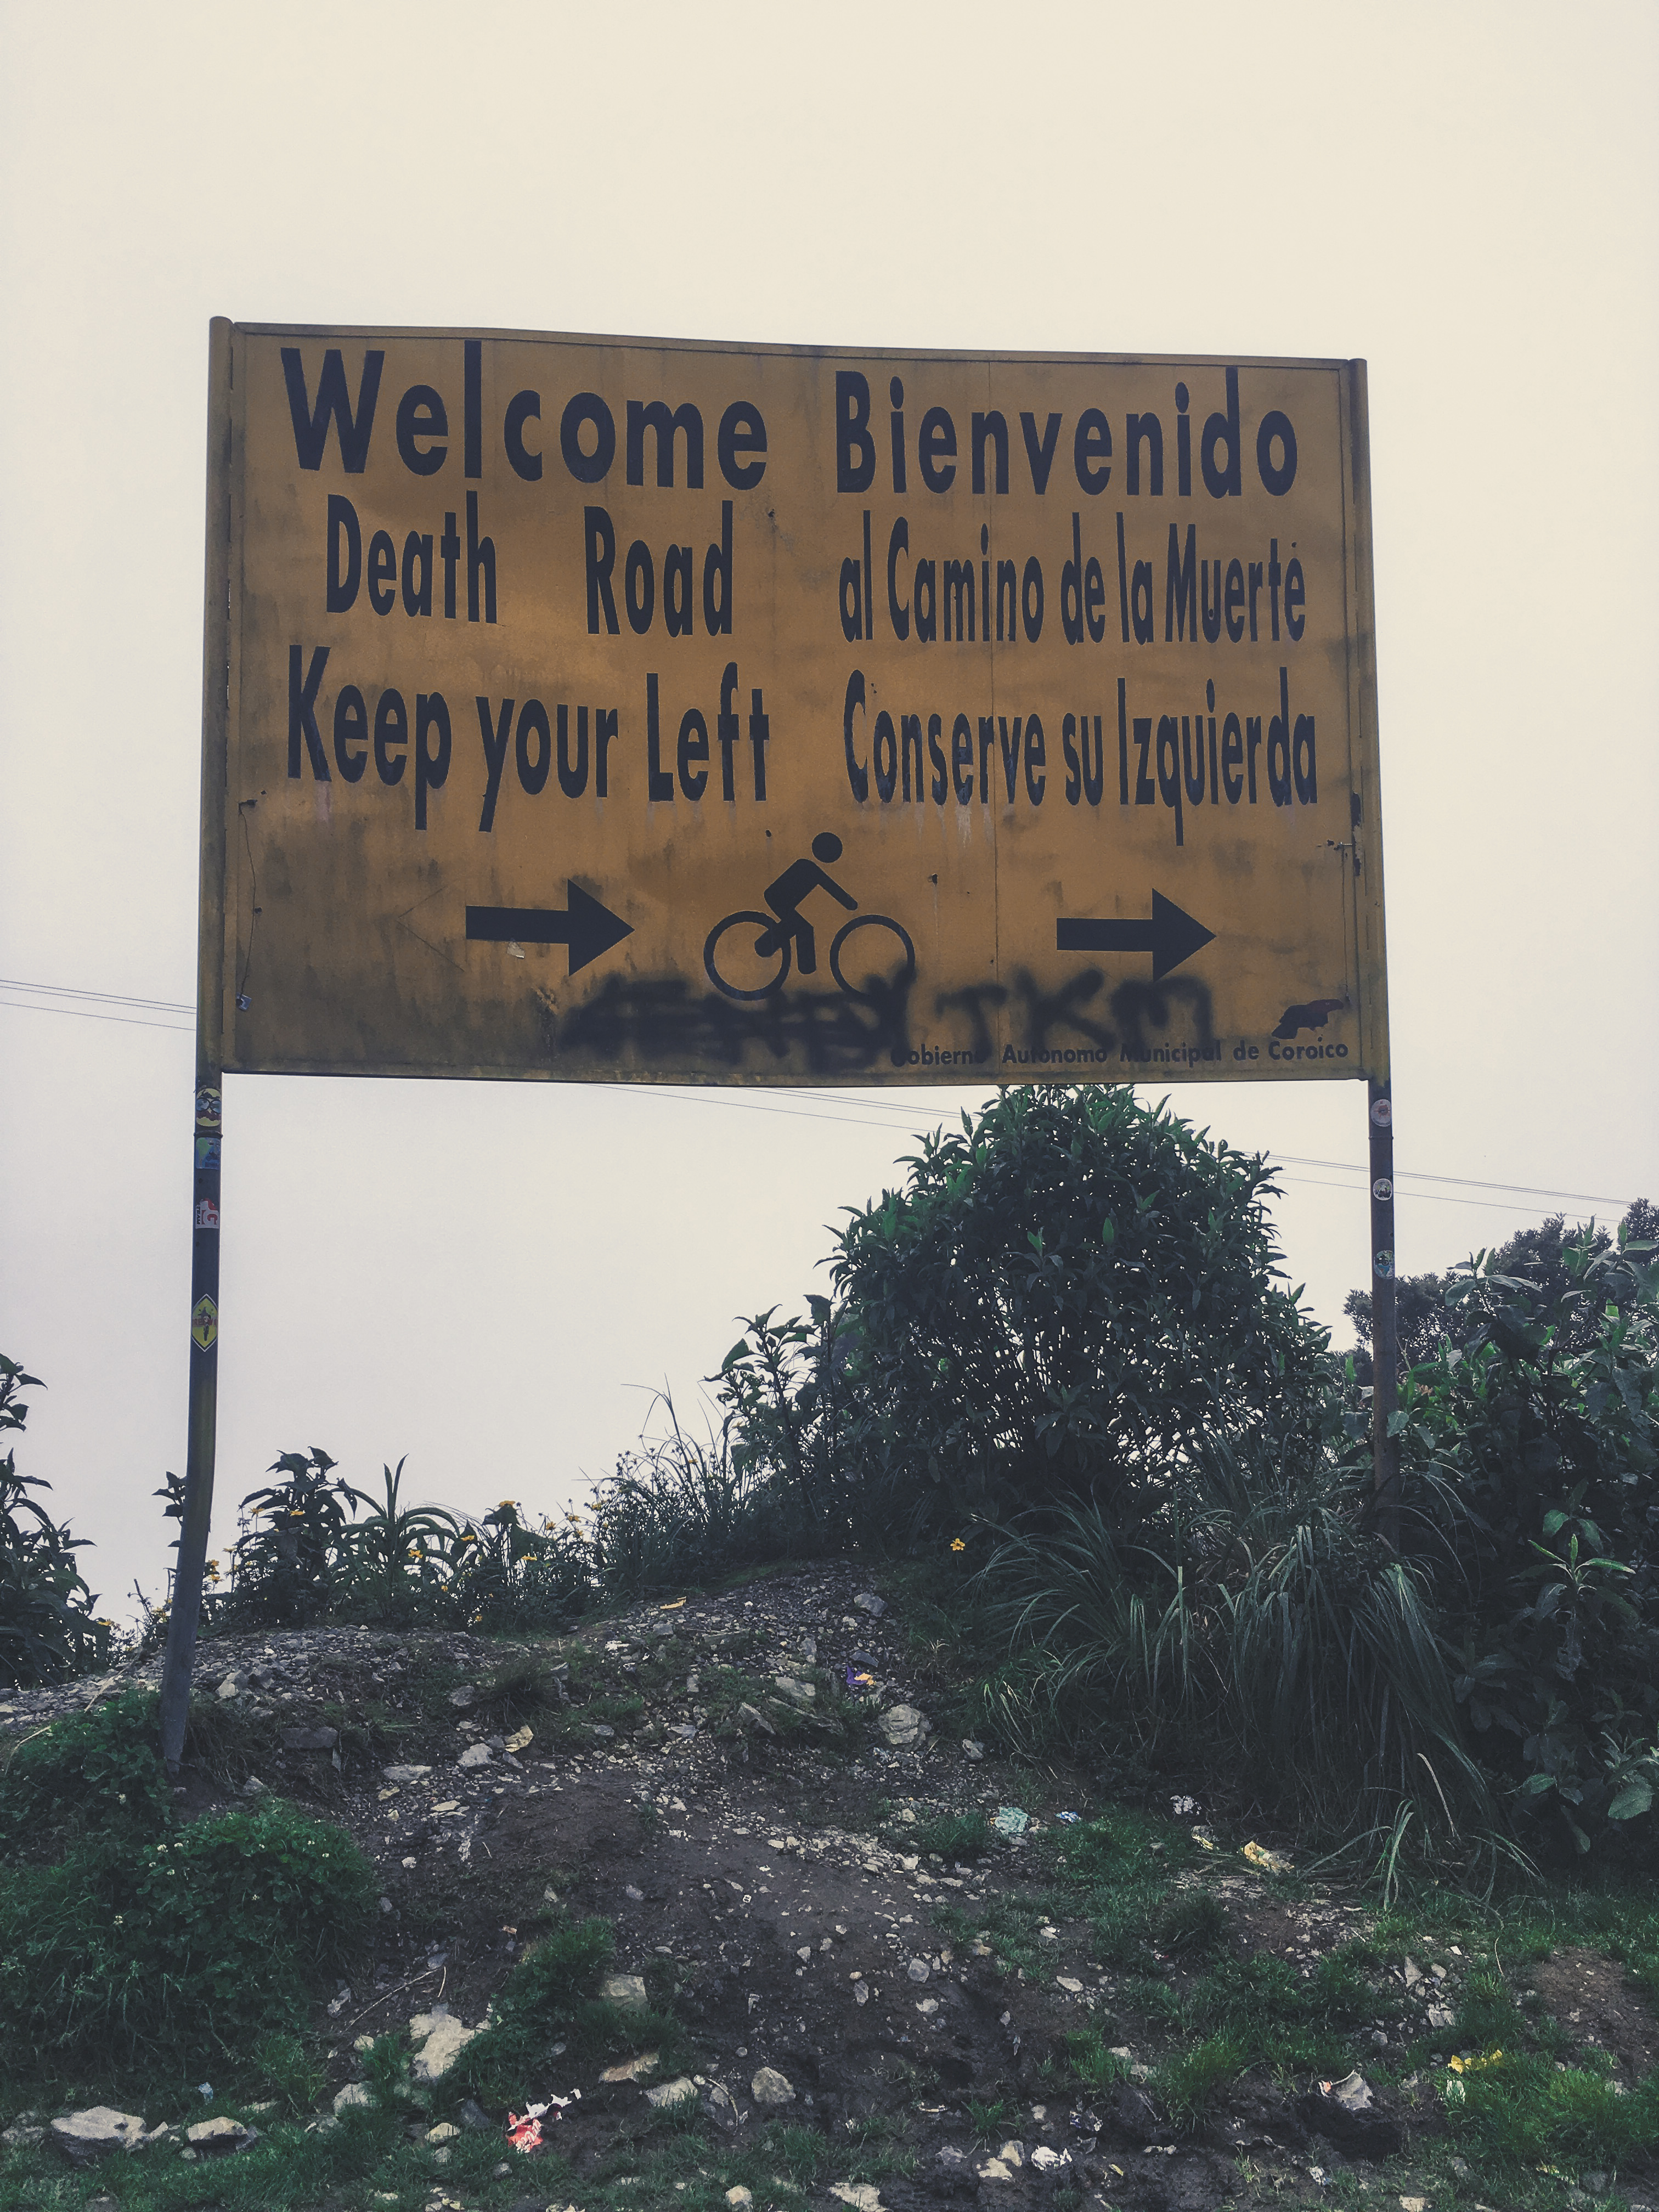
Biking the “World’s Most Dangerous Road” is not for the faint of the heart.

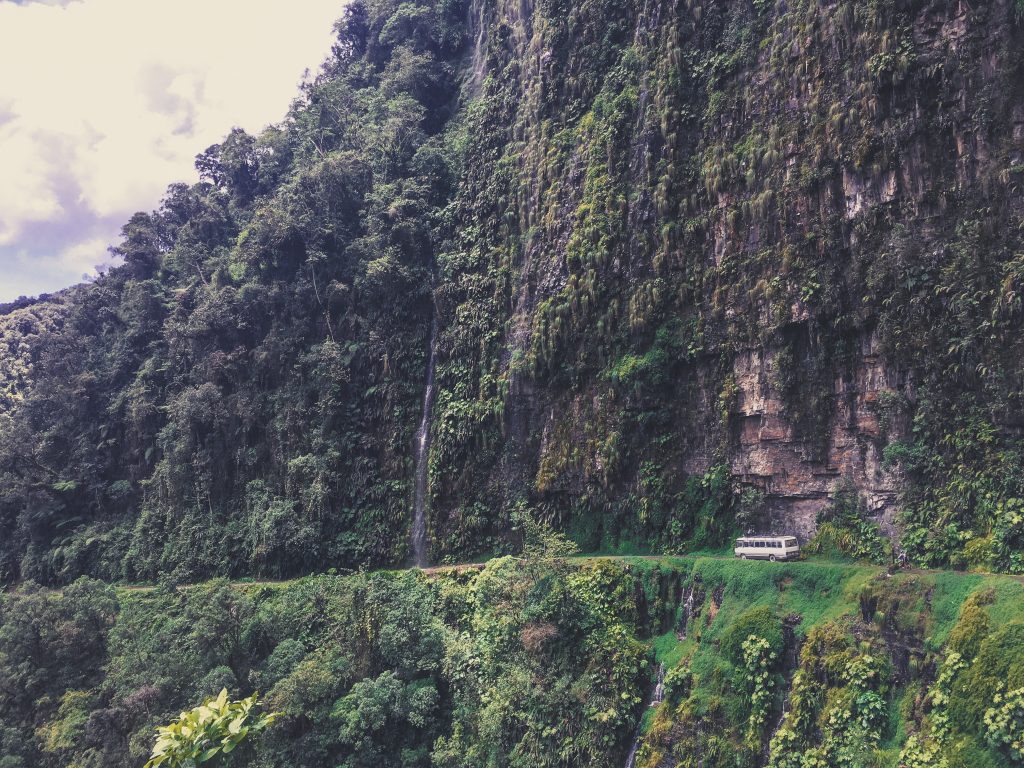
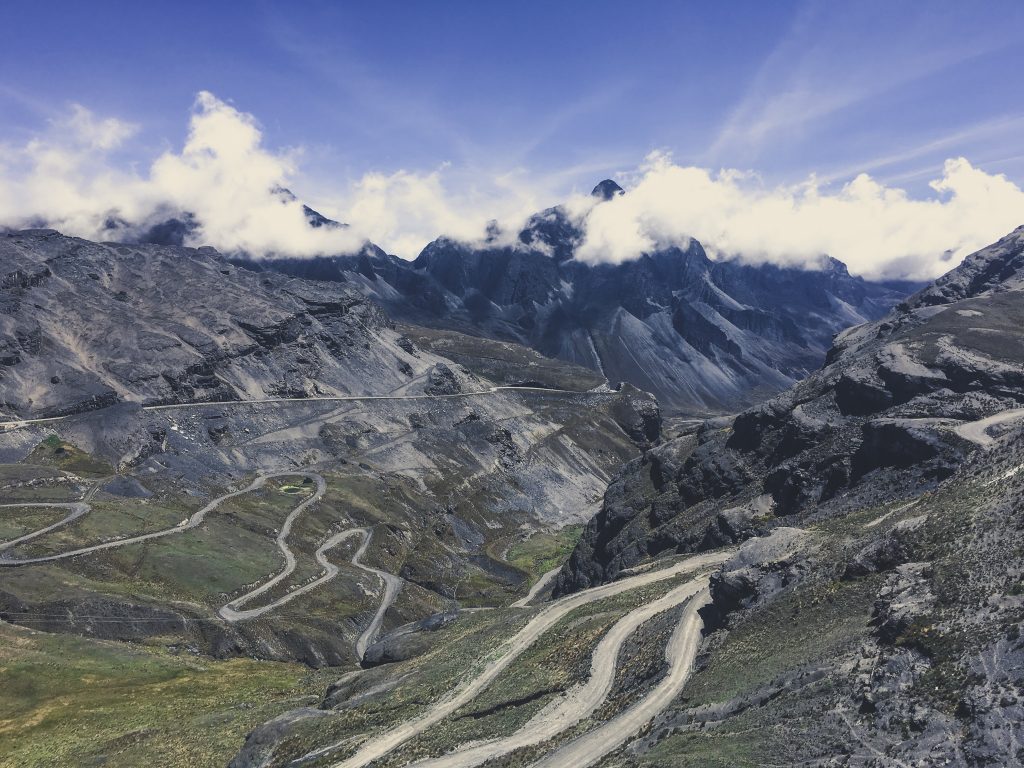
Death Road or al Camino de la Muerte is 65km of downhill riding. You start at 4700m and ride down to 1200m along a winding road, hugging the edge of the occasional 600m cliff.

Over 200 people were killed every year on this road. Entire buses have fallen over its deep cliffs. You can still find dozens of graves and memorials along the way.

A new paved road was built in 2006. The old road is now used by crazy, thrill-seeking cyclists. But even with the old road being used for downhill descents, Death Road still claims 2-3 lives every year.

biking death road

My Experience Biking Death Road in My Chacos

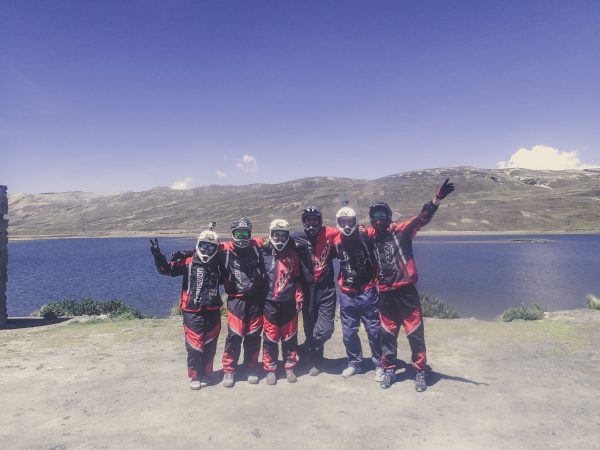
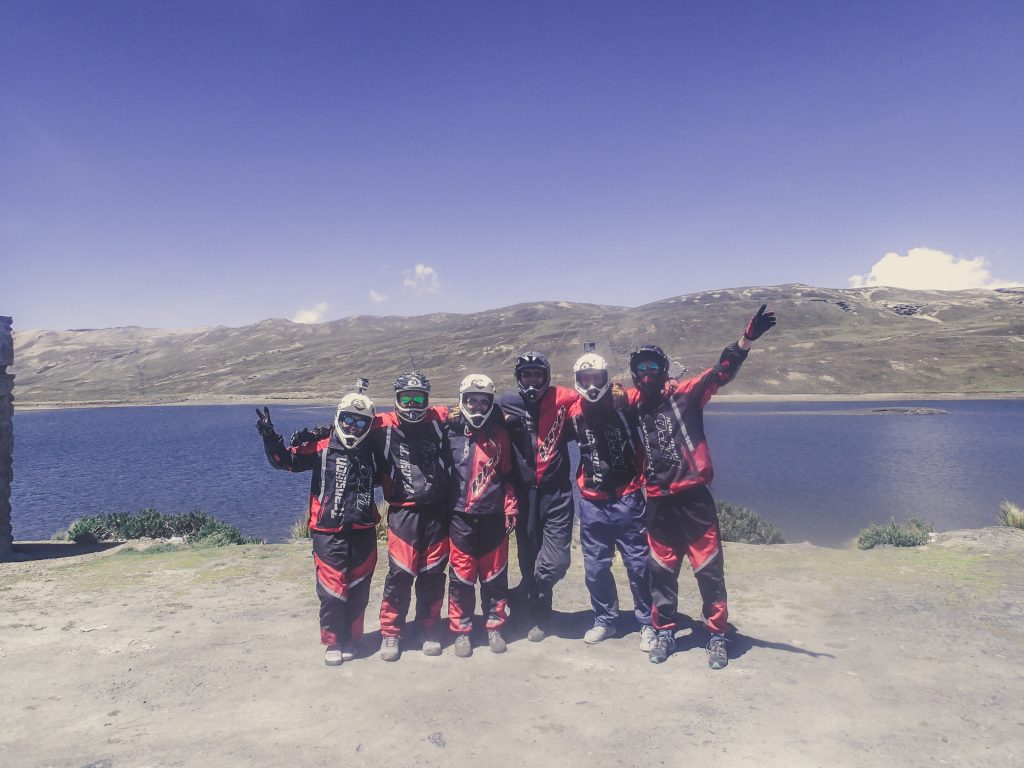
When I was in La Paz, Bolivia, I met a couple of Dutch guys during breakfast at the hostel I was staying at. These guys were just as stupid brave enough to bike Death Road, which is known as the “World’s Most Dangerous Road.”

mini bus death road Bolivia

We ended up walking around La Paz to check out different tour companies until we decided to book a tour with Pro Downhill for the following day. I DO NOT recommend booking with this company. You can find out exactly why I don’t recommend booking with Pro Downhill at the end of this post.

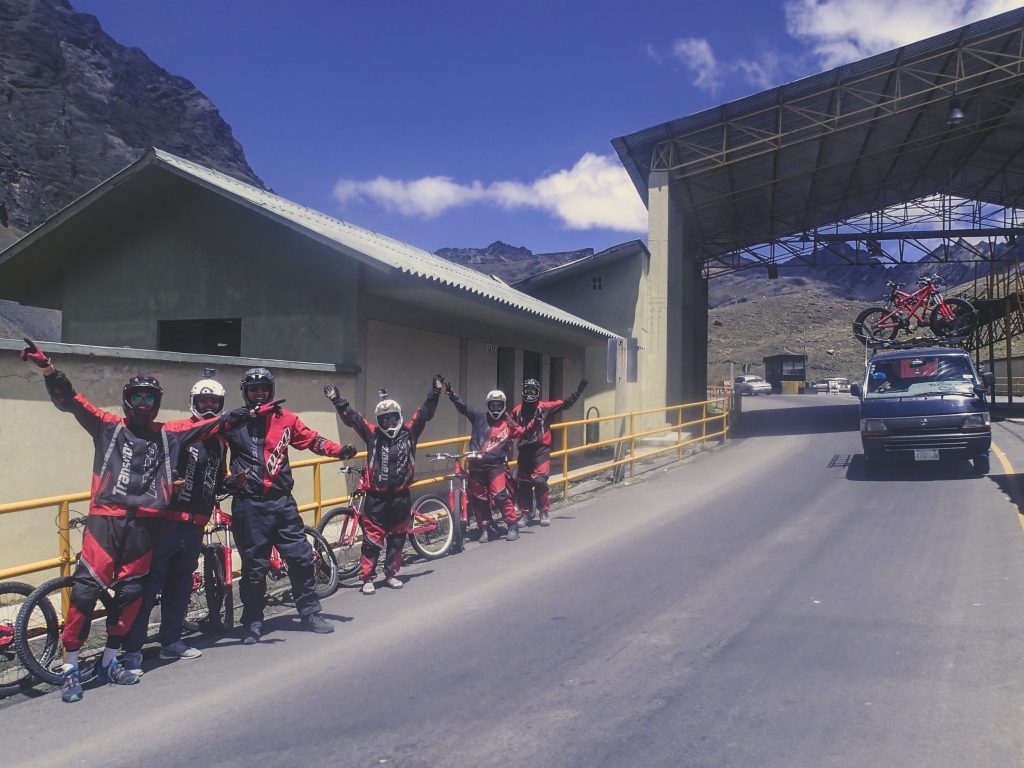
After handing over 400 bolivianos ($58 USD) and signing our lives away, we piled into a Toyota mini-bus early in the morning and drove an hour to the start of our ride in La Cumbre.

biking worlds most dangerous road bolivia

Getting Fitted To Ride

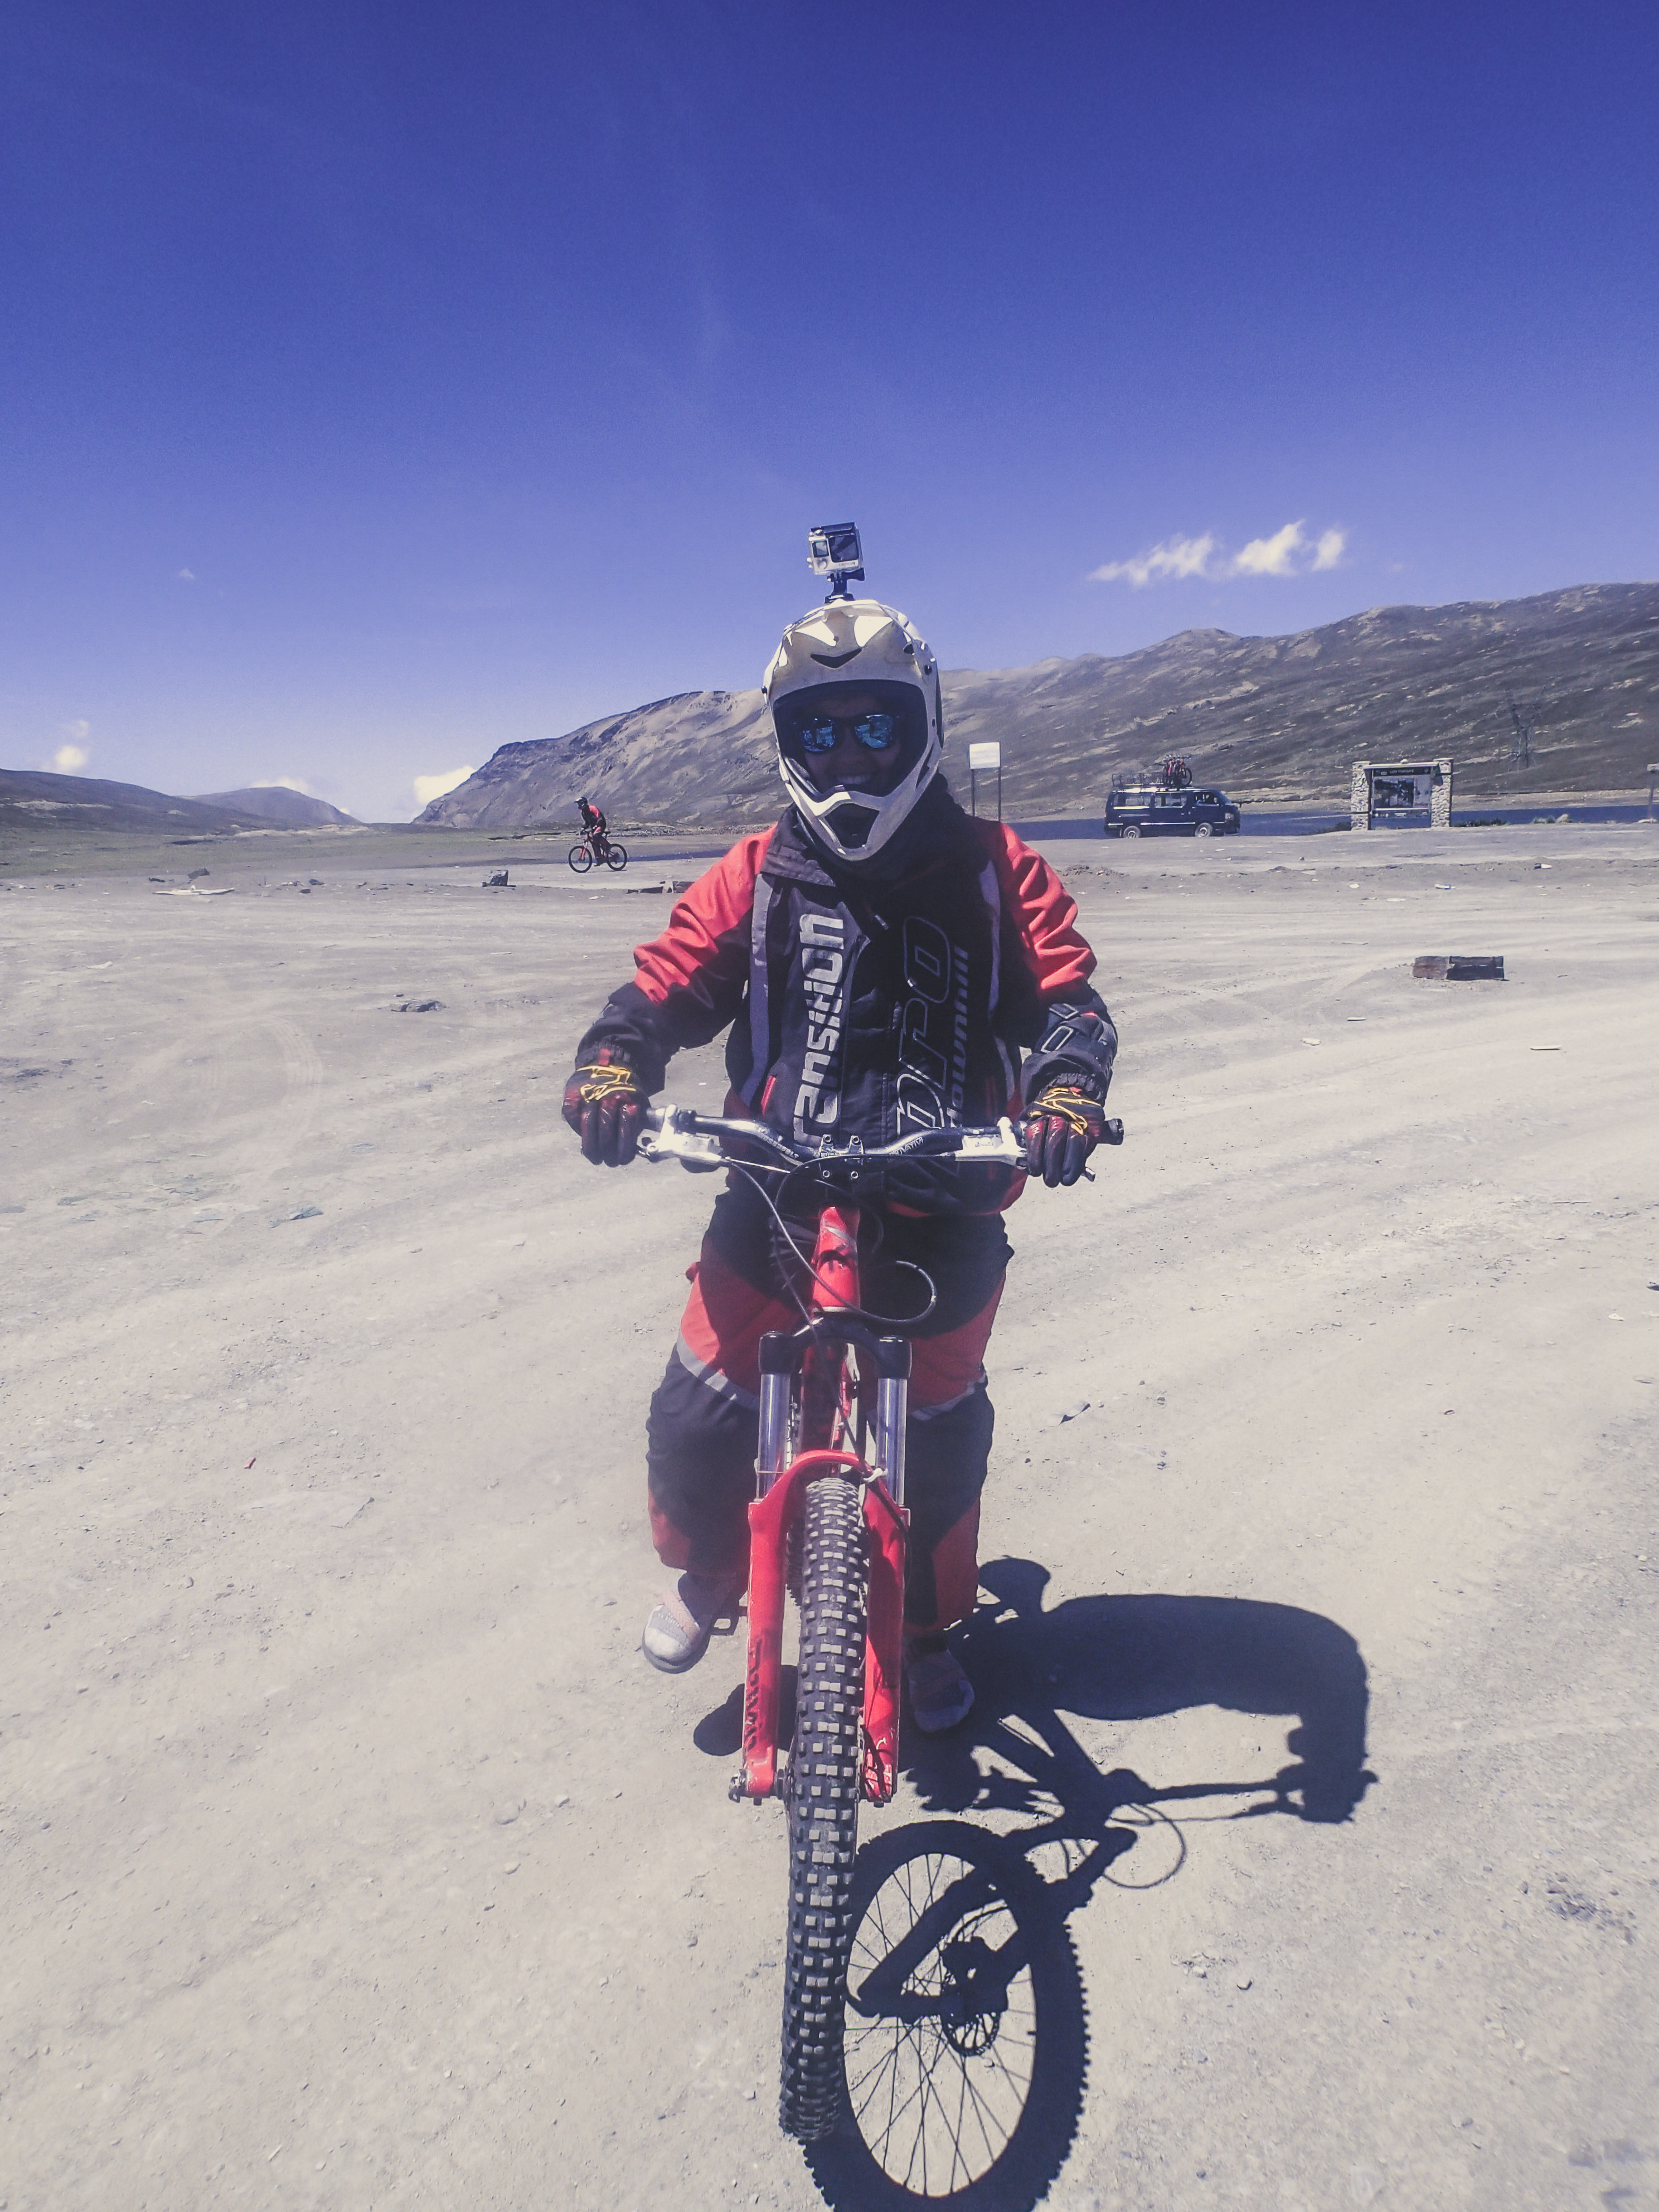
Our tour company provided almost everything we needed. They supplied a Kona bike with hydraulic brakes, a full-face helmet, jacket, pants, knee pads, elbow pads, and gloves.

But there was one thing they didn’t give you… shoes!

During my entire backpacking trip in South America, I only carried two pairs of shoes – Chacos and hiking boots.

The guys told me that we would get proper shoes for biking, so instead of wearing my hiking boots, I casually strolled out of my hostel wearing my Chacos.

biking worlds most dangerous road bolivia

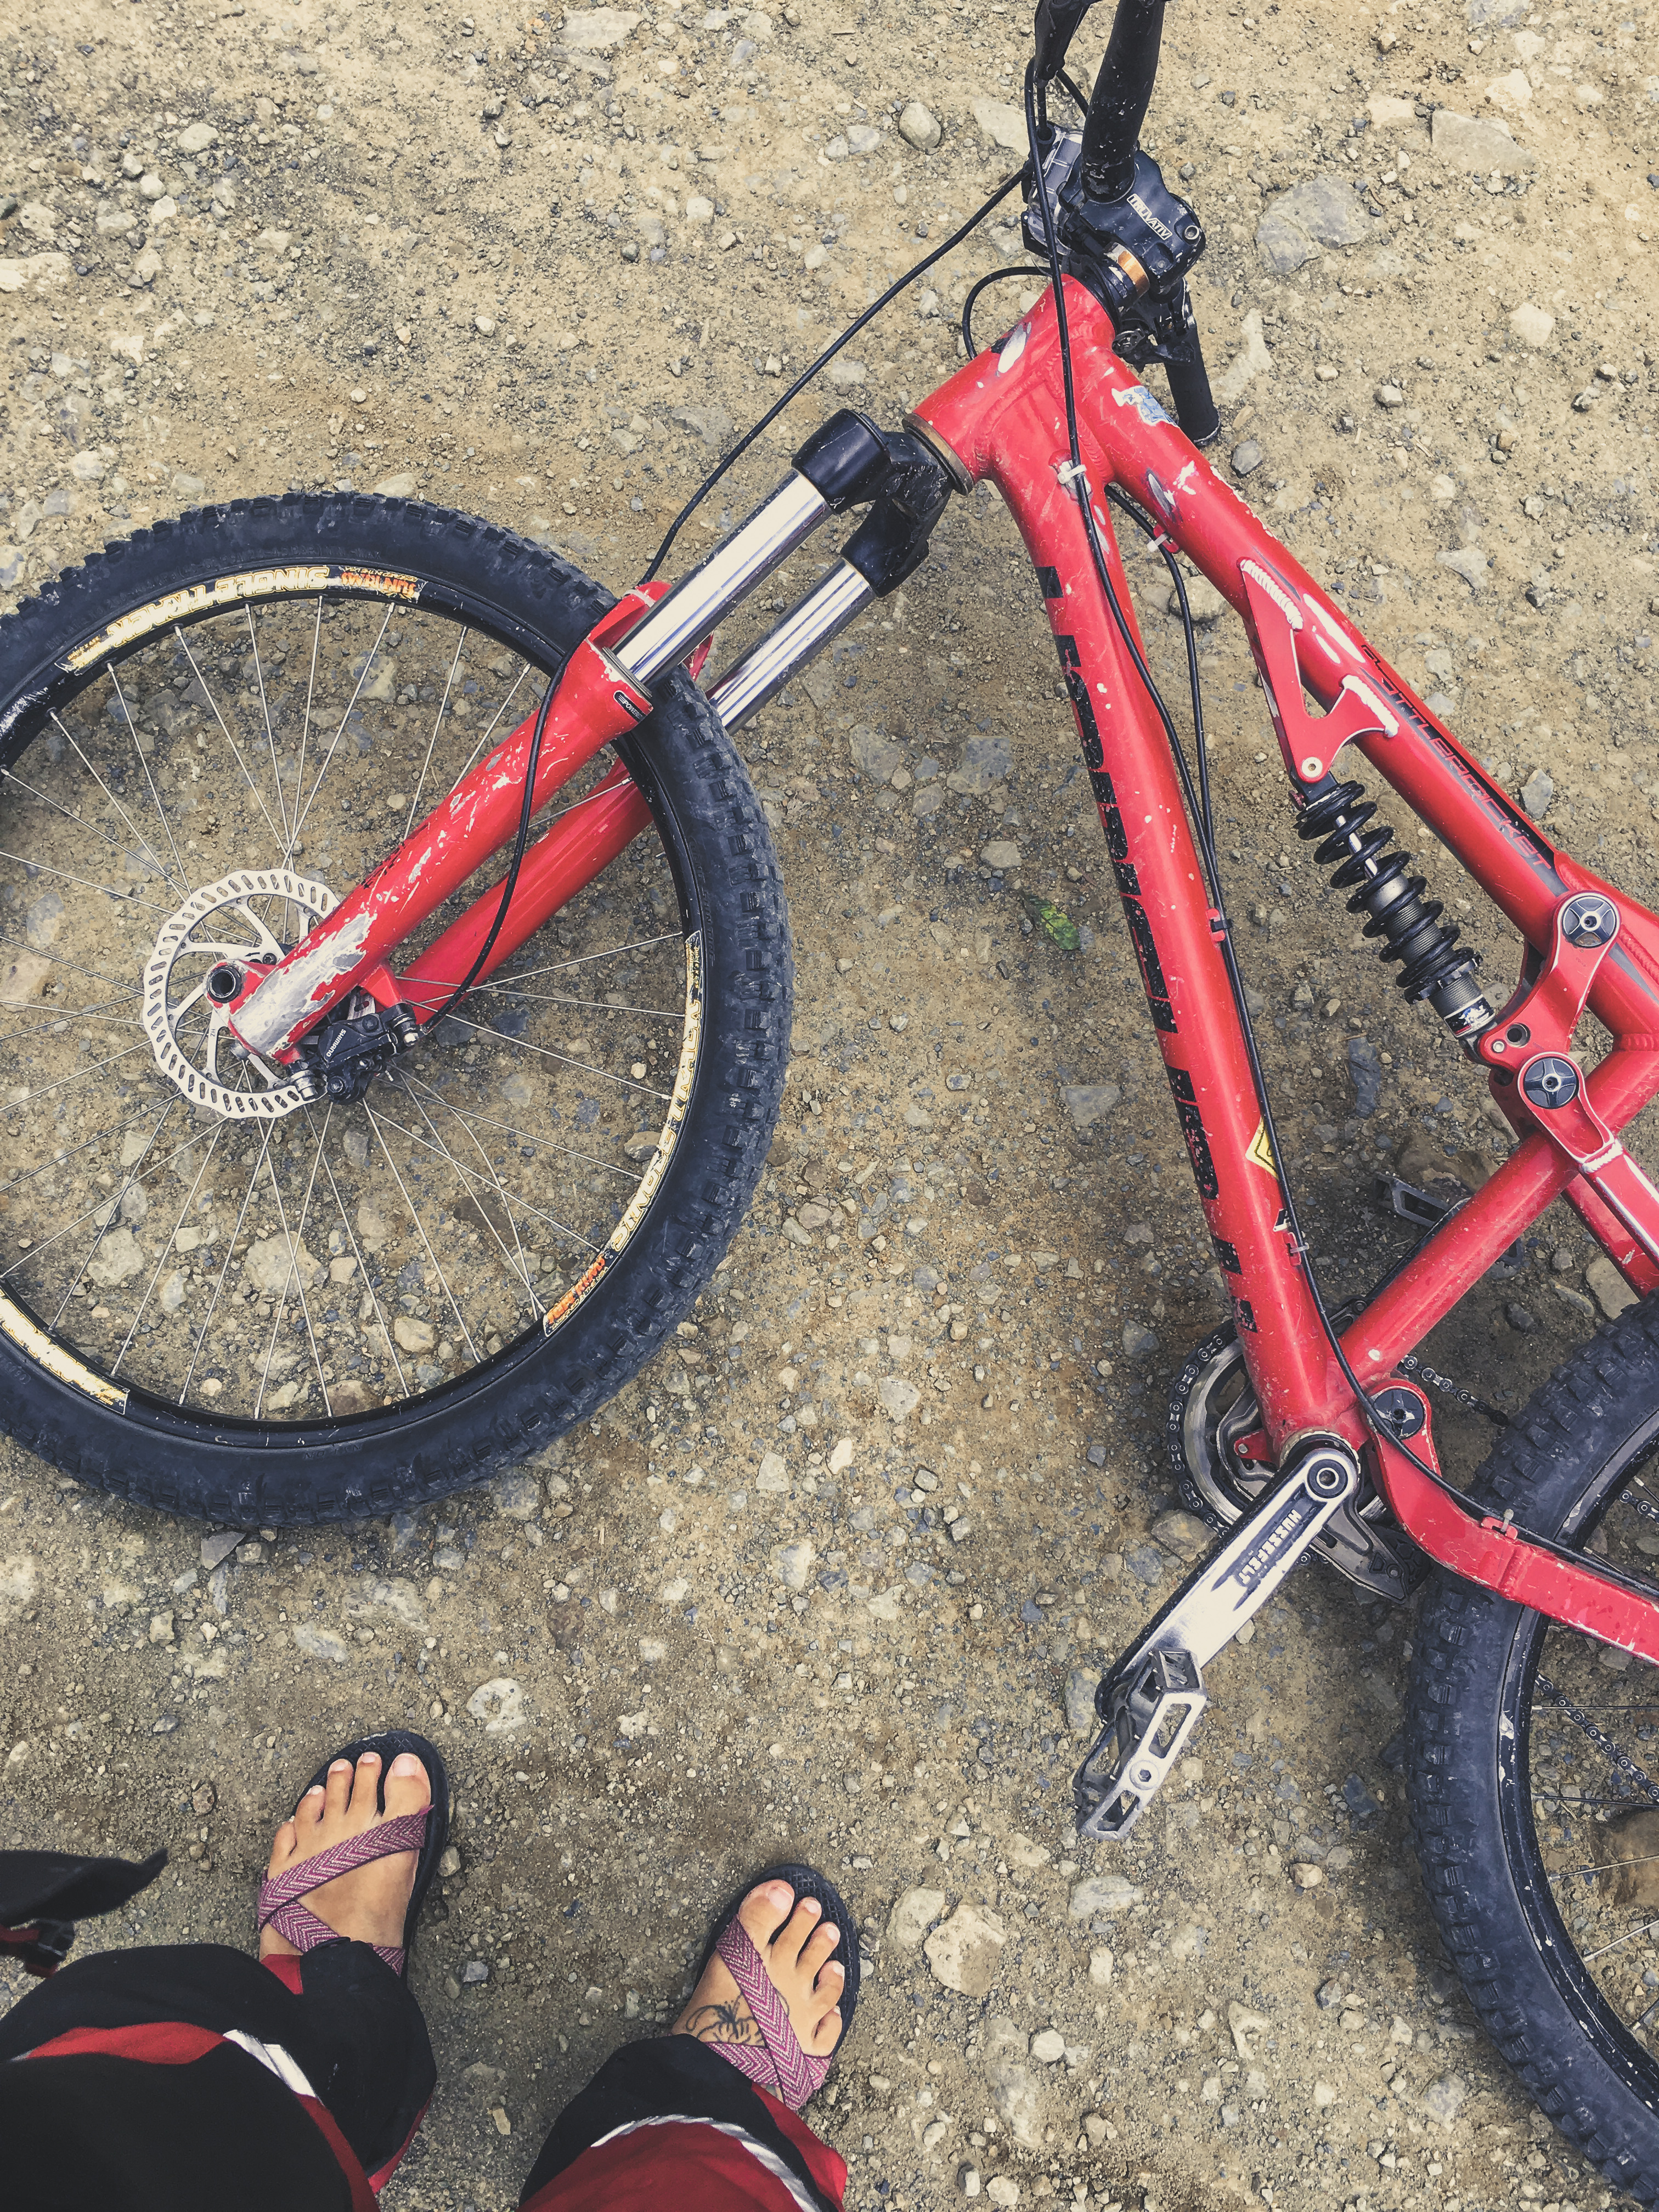
Yes, I Wear Socks With Sandals

Luckily, I stuffed a pair of socks in my day pack. I ended up wearing socks during the first portion of our ride, which was slightly colder because of the higher elevation.

I also thought that wearing socks would add a little bit of protection from the loose terrain that my feet would be exposed to.

worlds dangerous road bolivia

Hitting The (Paved) Road

After getting fitted in all of our biking gear, we took off down a paved road. The first section of the ride opened up to a valley of winding roads amongst the rugged and varied terrain of Bolivia’s Yungas region.

biking la paz bolivia

Handing Over 25 Bolivianos

After an hour of fast and fun riding down the paved road, we arrived at the park control point. It costs 25 bolivianos to enter Cotapata National Park. Most tour companies will remind you to bring cash with you to pay for this. Our guide made this really easy for us by collecting our money and paying the fees to get our park tickets.

biking worlds most dangerous road bolivia sign

The Real Death Road

The paved road ends where the real Death Road begins. All of the elements completely change at this point. The paved road turns into a narrow dirt road with tons of loose rocks.

Hello, bumpy ride.

We were briefed on a few things before we took off through this section.

Our guide told us that some cars still use the old road. Cars drive up the left side of the road so they can have a better view of where they are on the road. This meant that we were forced to bike on the same side as the steep drop-off!

biking worlds most dangerous road bolivia cloud forest

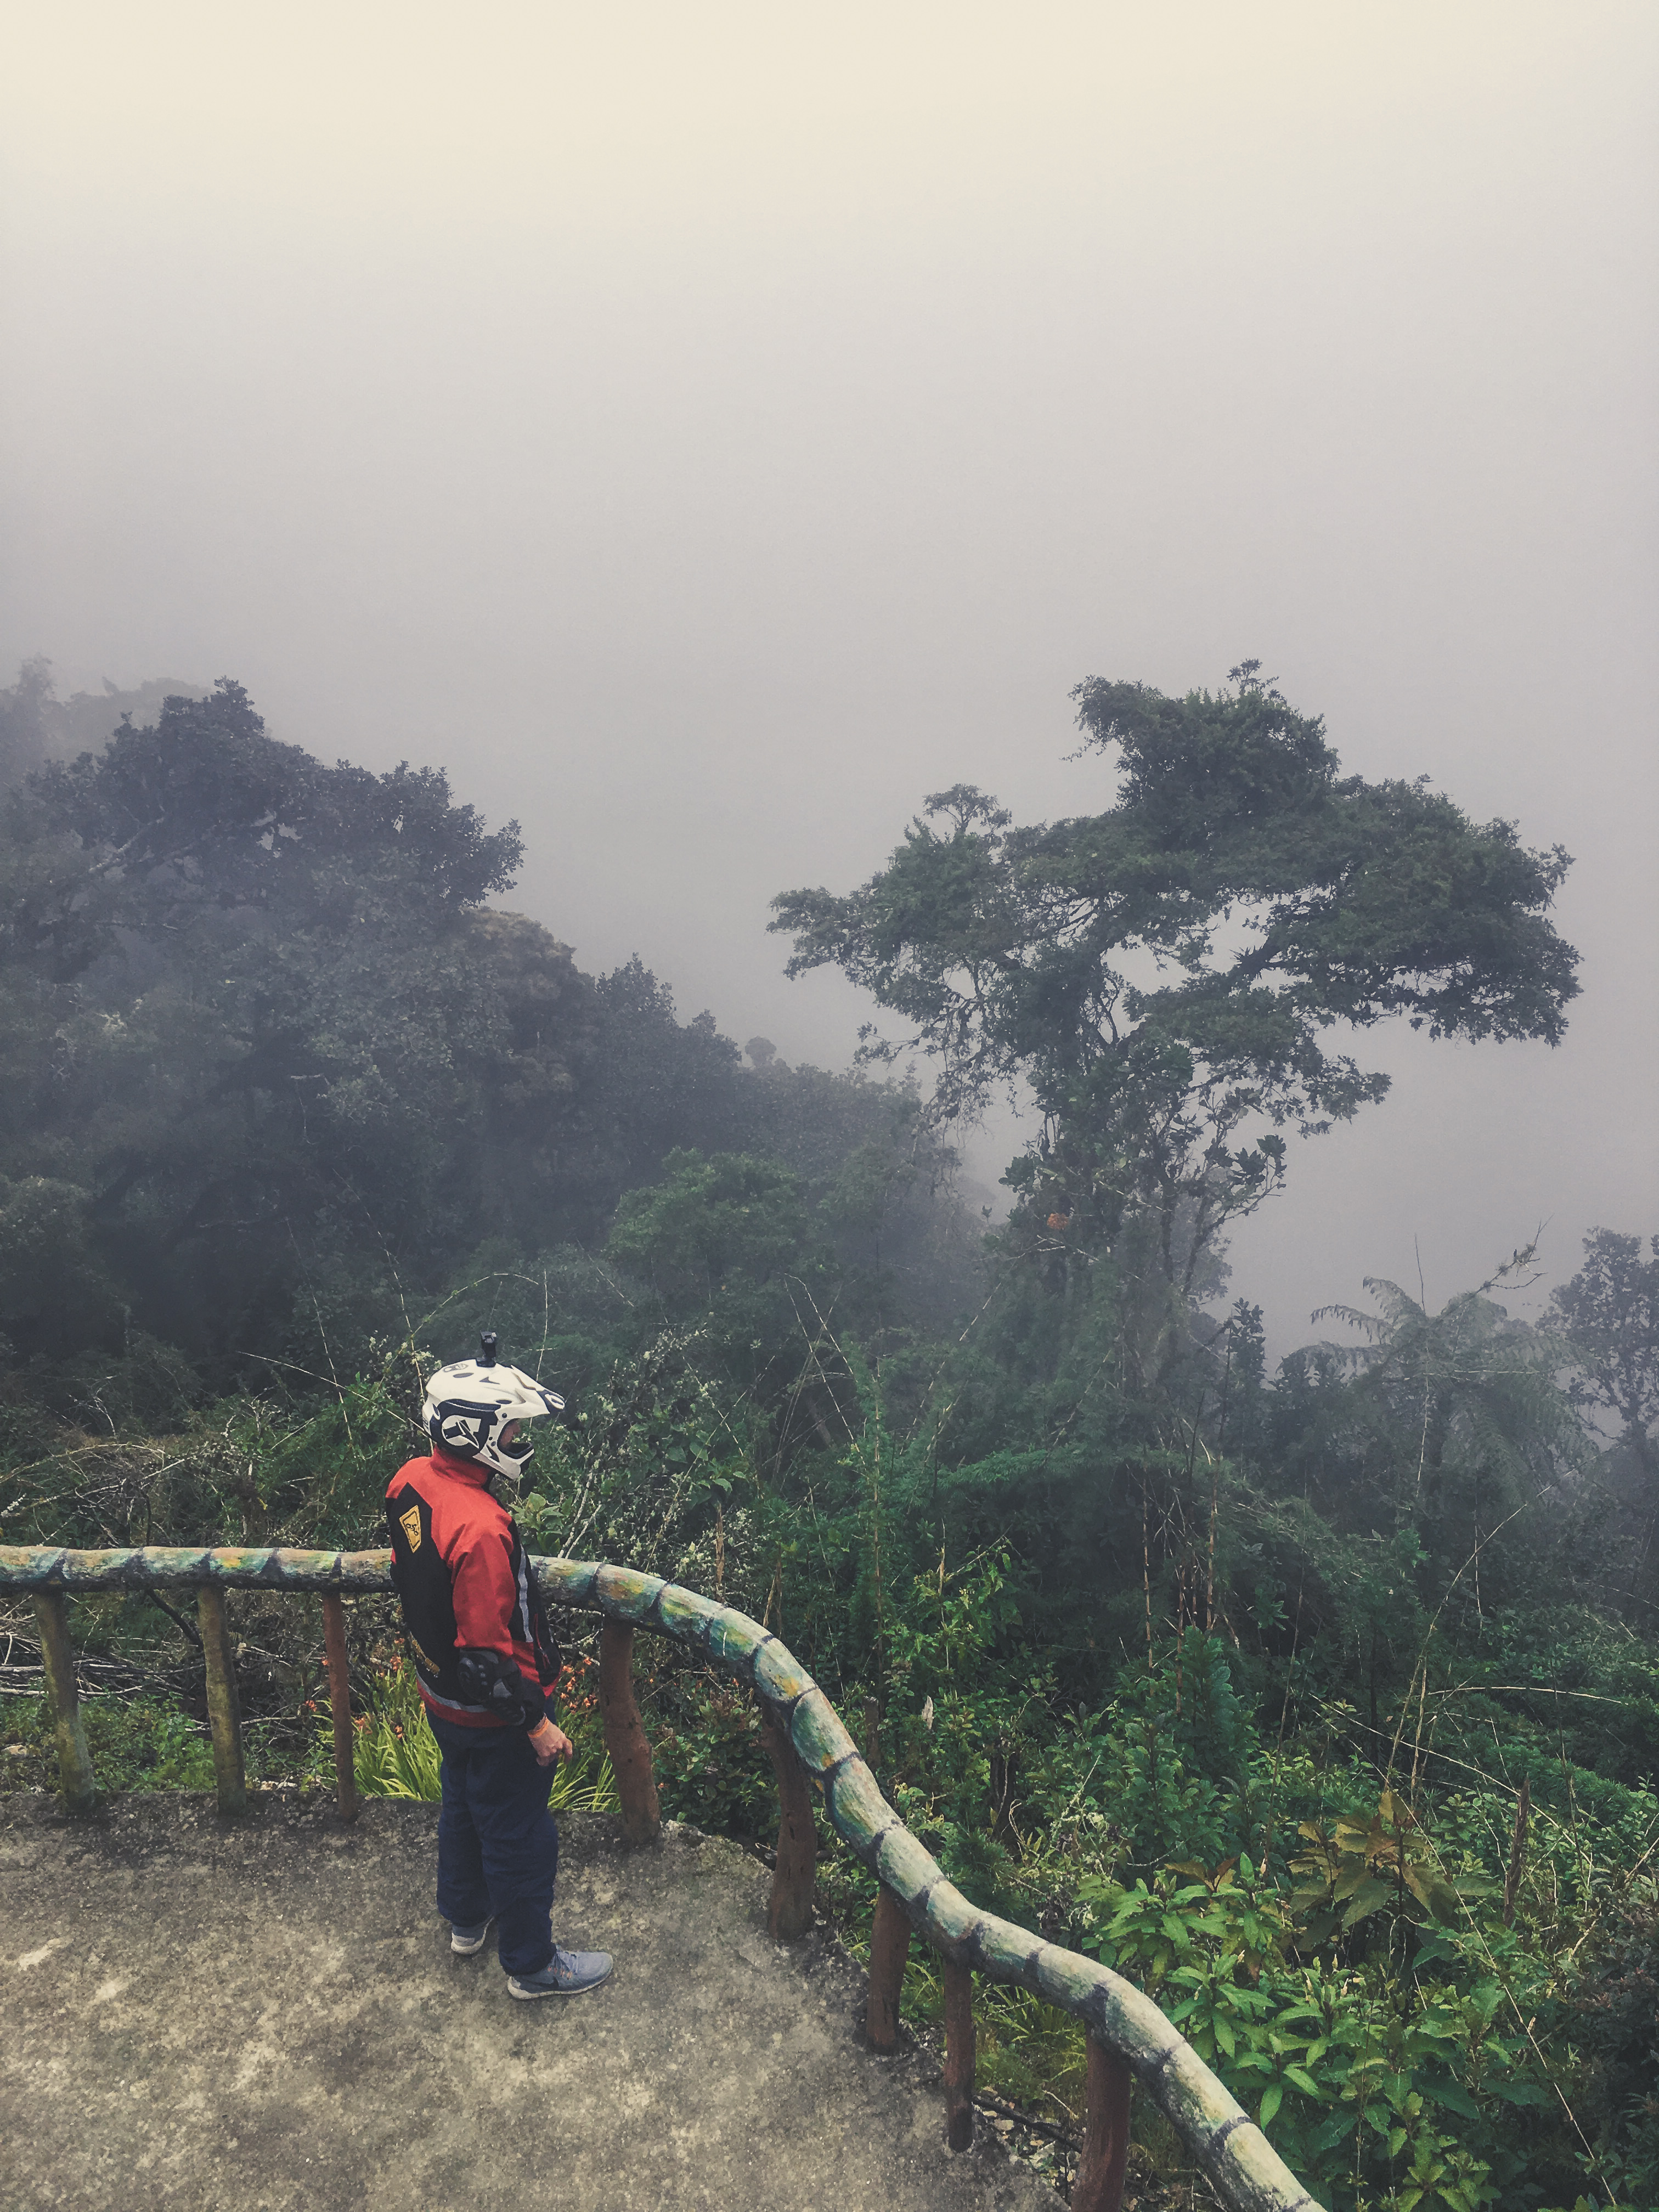
Entering the Cloud Forest

We continued to ride downhill to lower elevations and slowly entered the cloud forest. The low visibility from the clouds and fog made everything a little more eerie and more challenging.

biking worlds most dangerous road bolivia

Getting All Fixed Up

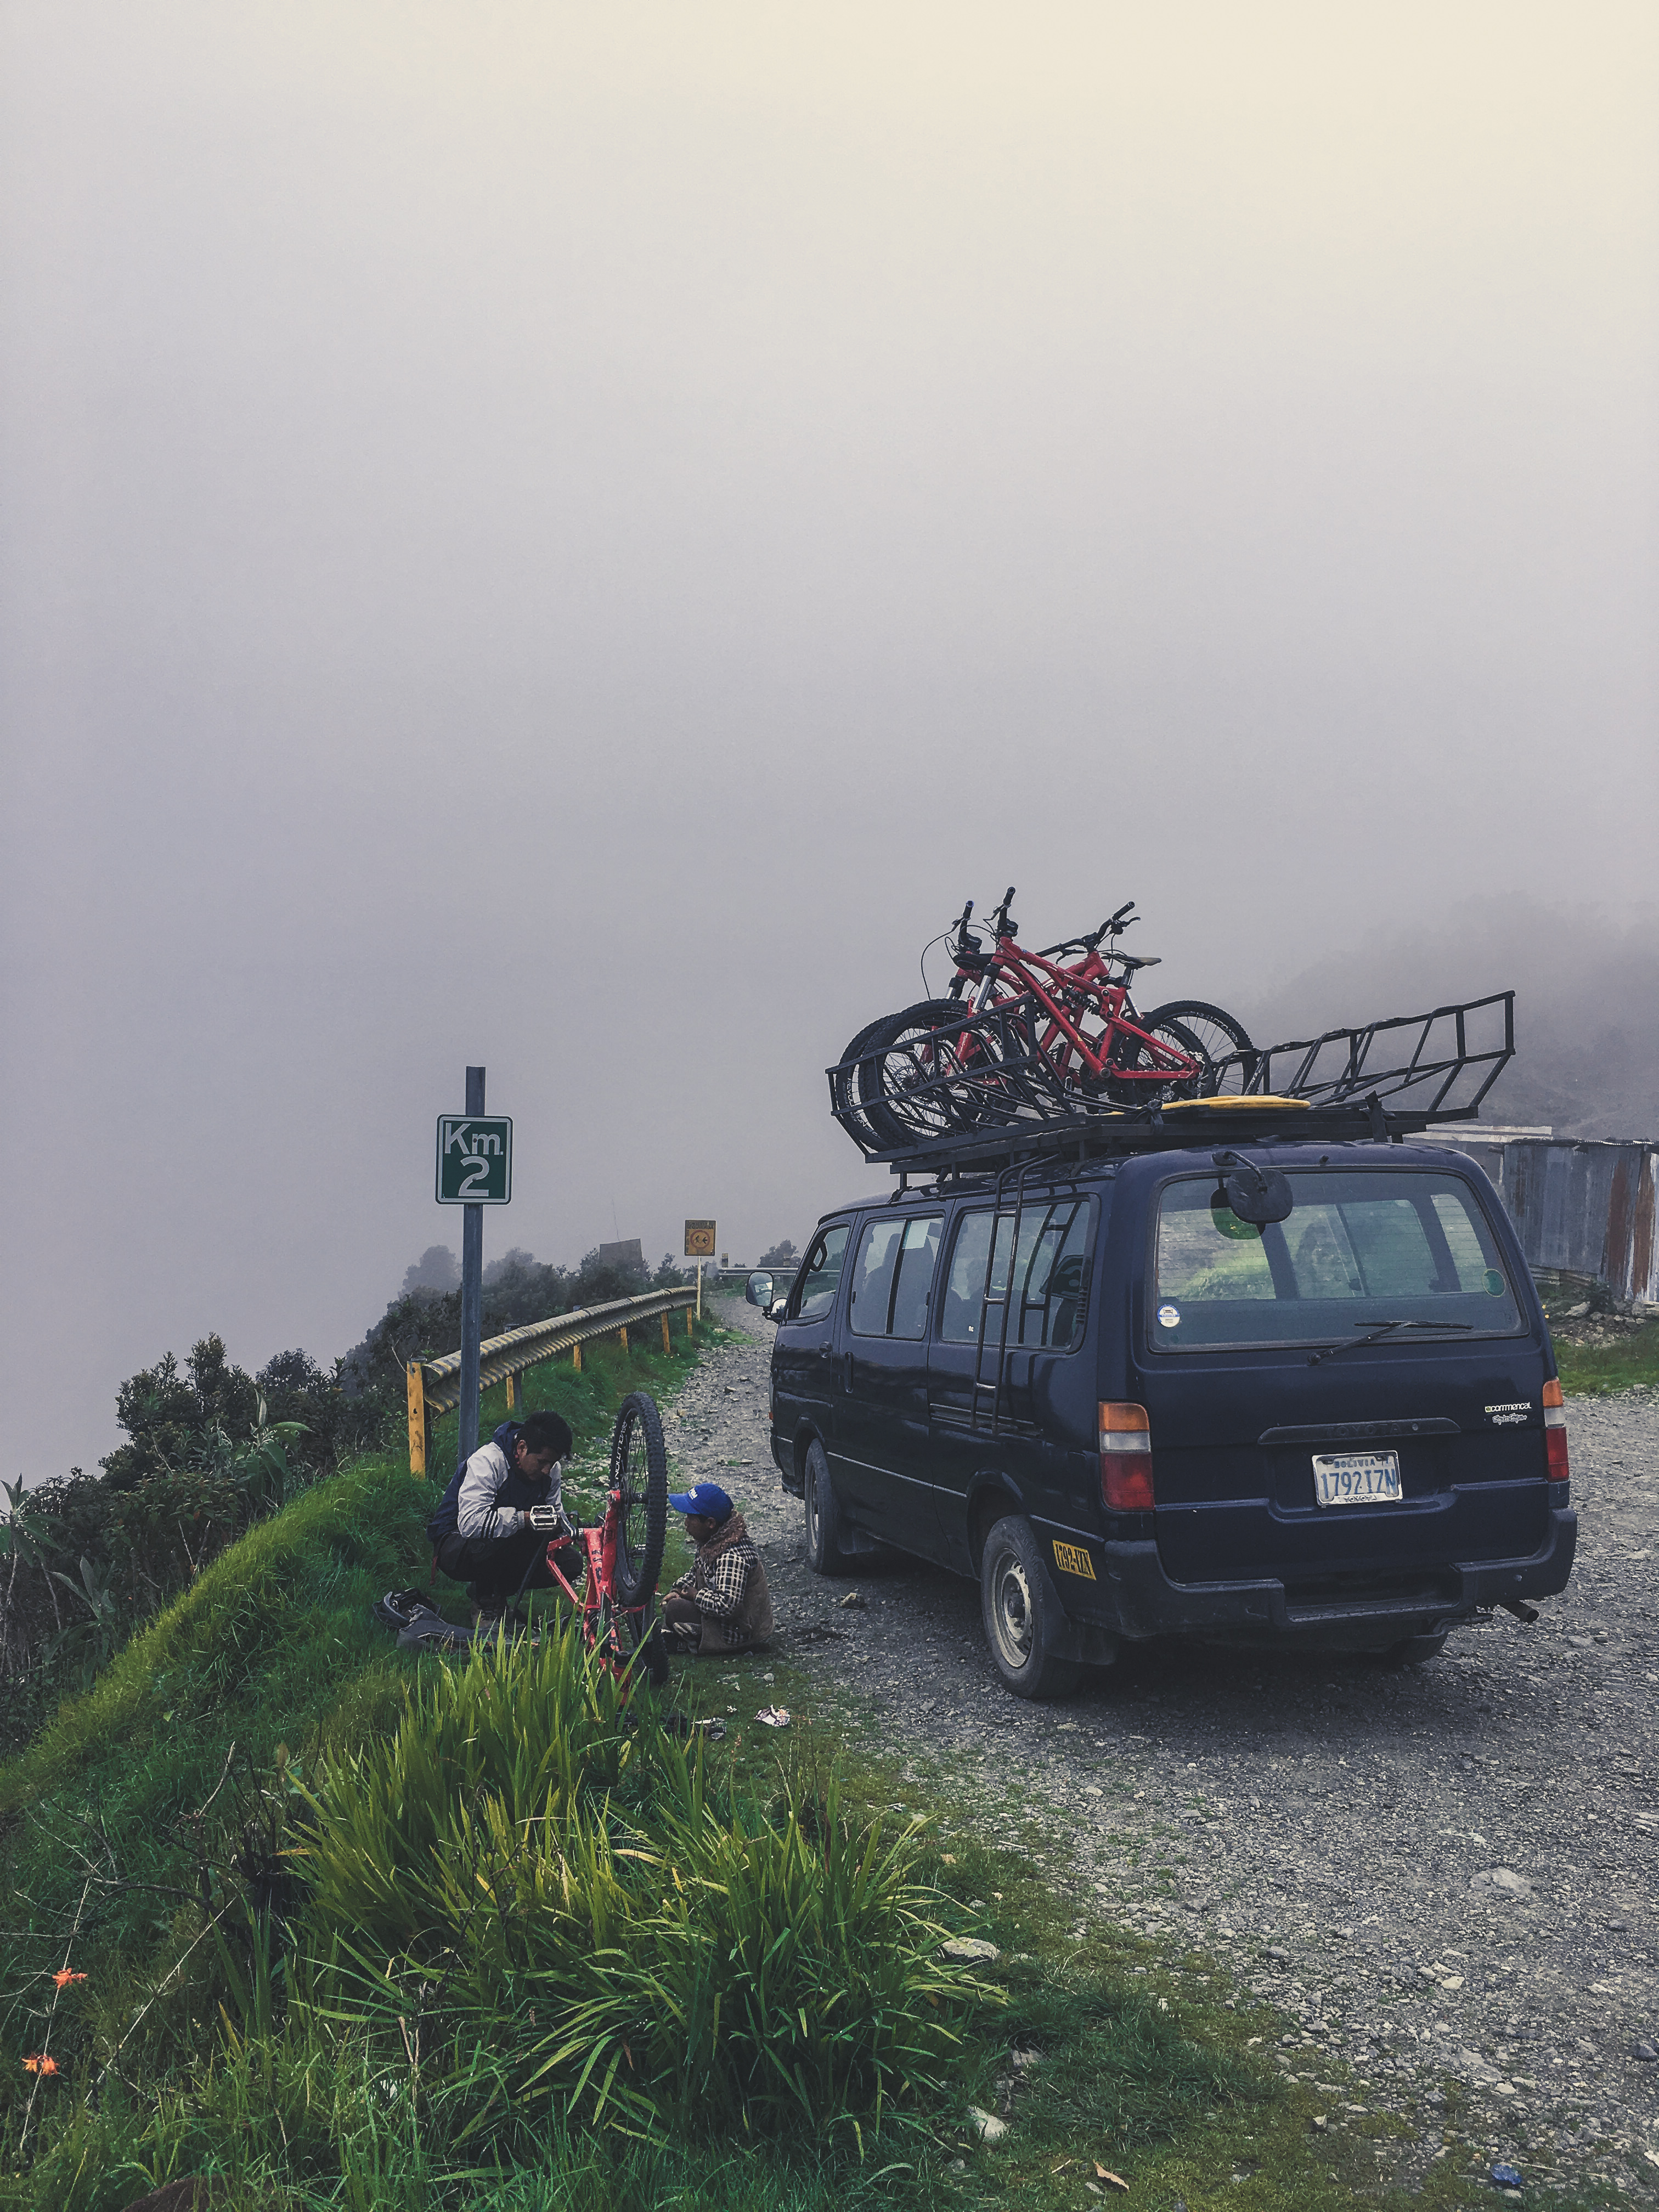
All guides are trained and certified, and there’s always a support vehicle following your group. Our mini-bus followed our group with extra equipment, extra bikes, and all of the belongings that we didn’t want to carry on our backs.

There were so many incidents along our ride that made me thankful for the support vehicle that was following us. I think we used up all of the reserve bikes.

biking worlds most dangerous road bolivia broken bike chain

And Then There Were Four Accidents…

It felt like there was an accident every hour.

One flat tire. Two flat tires. Three flat tires. Four flat tires.

Then a pedal fell off.

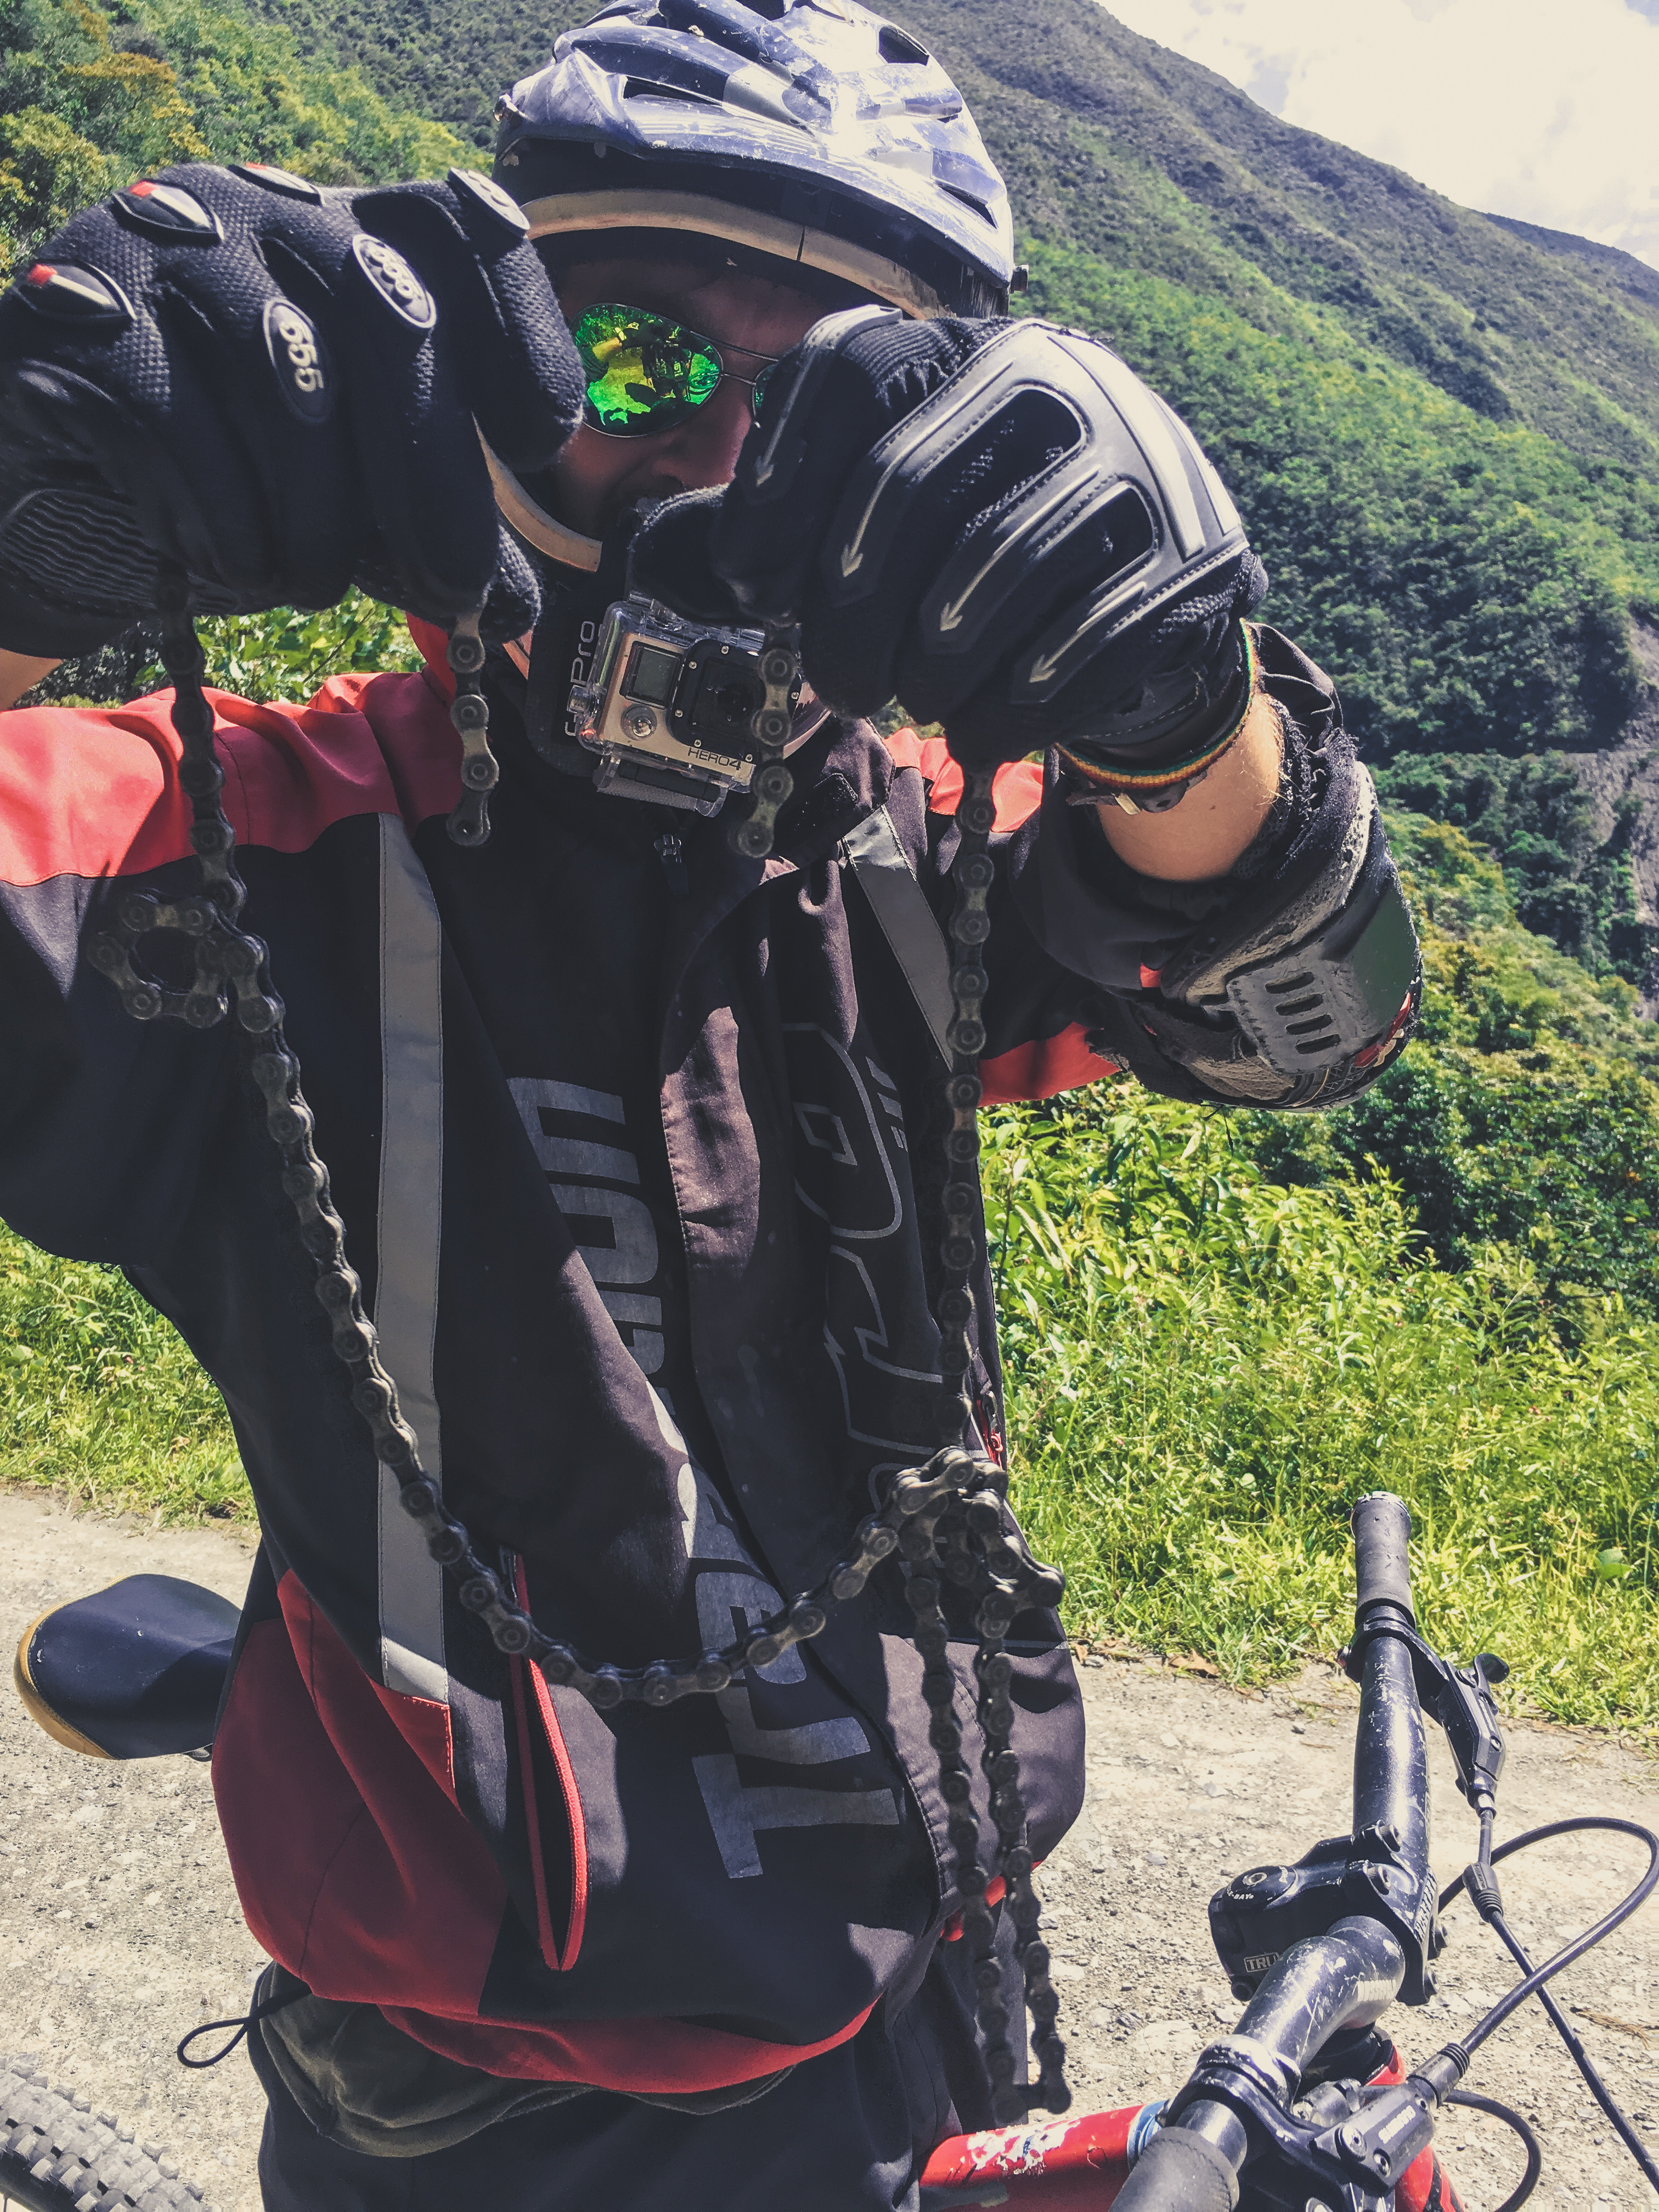
And as I was zooming downhill, my bike chain completely broke off.

THAT was the cherry on top.

I couldn’t believe it. A flat tire was understandable but biking downhill when your chain comes off is not something you want to happen ever, but especially on Death Road! Thankfully my brakes worked properly.

These are the six reasons why I wouldn’t recommend booking with Pro Downhill in La Paz. Even though our guide was amazing, I would rather pay more money for bikes that are well-maintained and ensure a safe ride.

Camino de la Muerte bolivia

Do It For The Gram

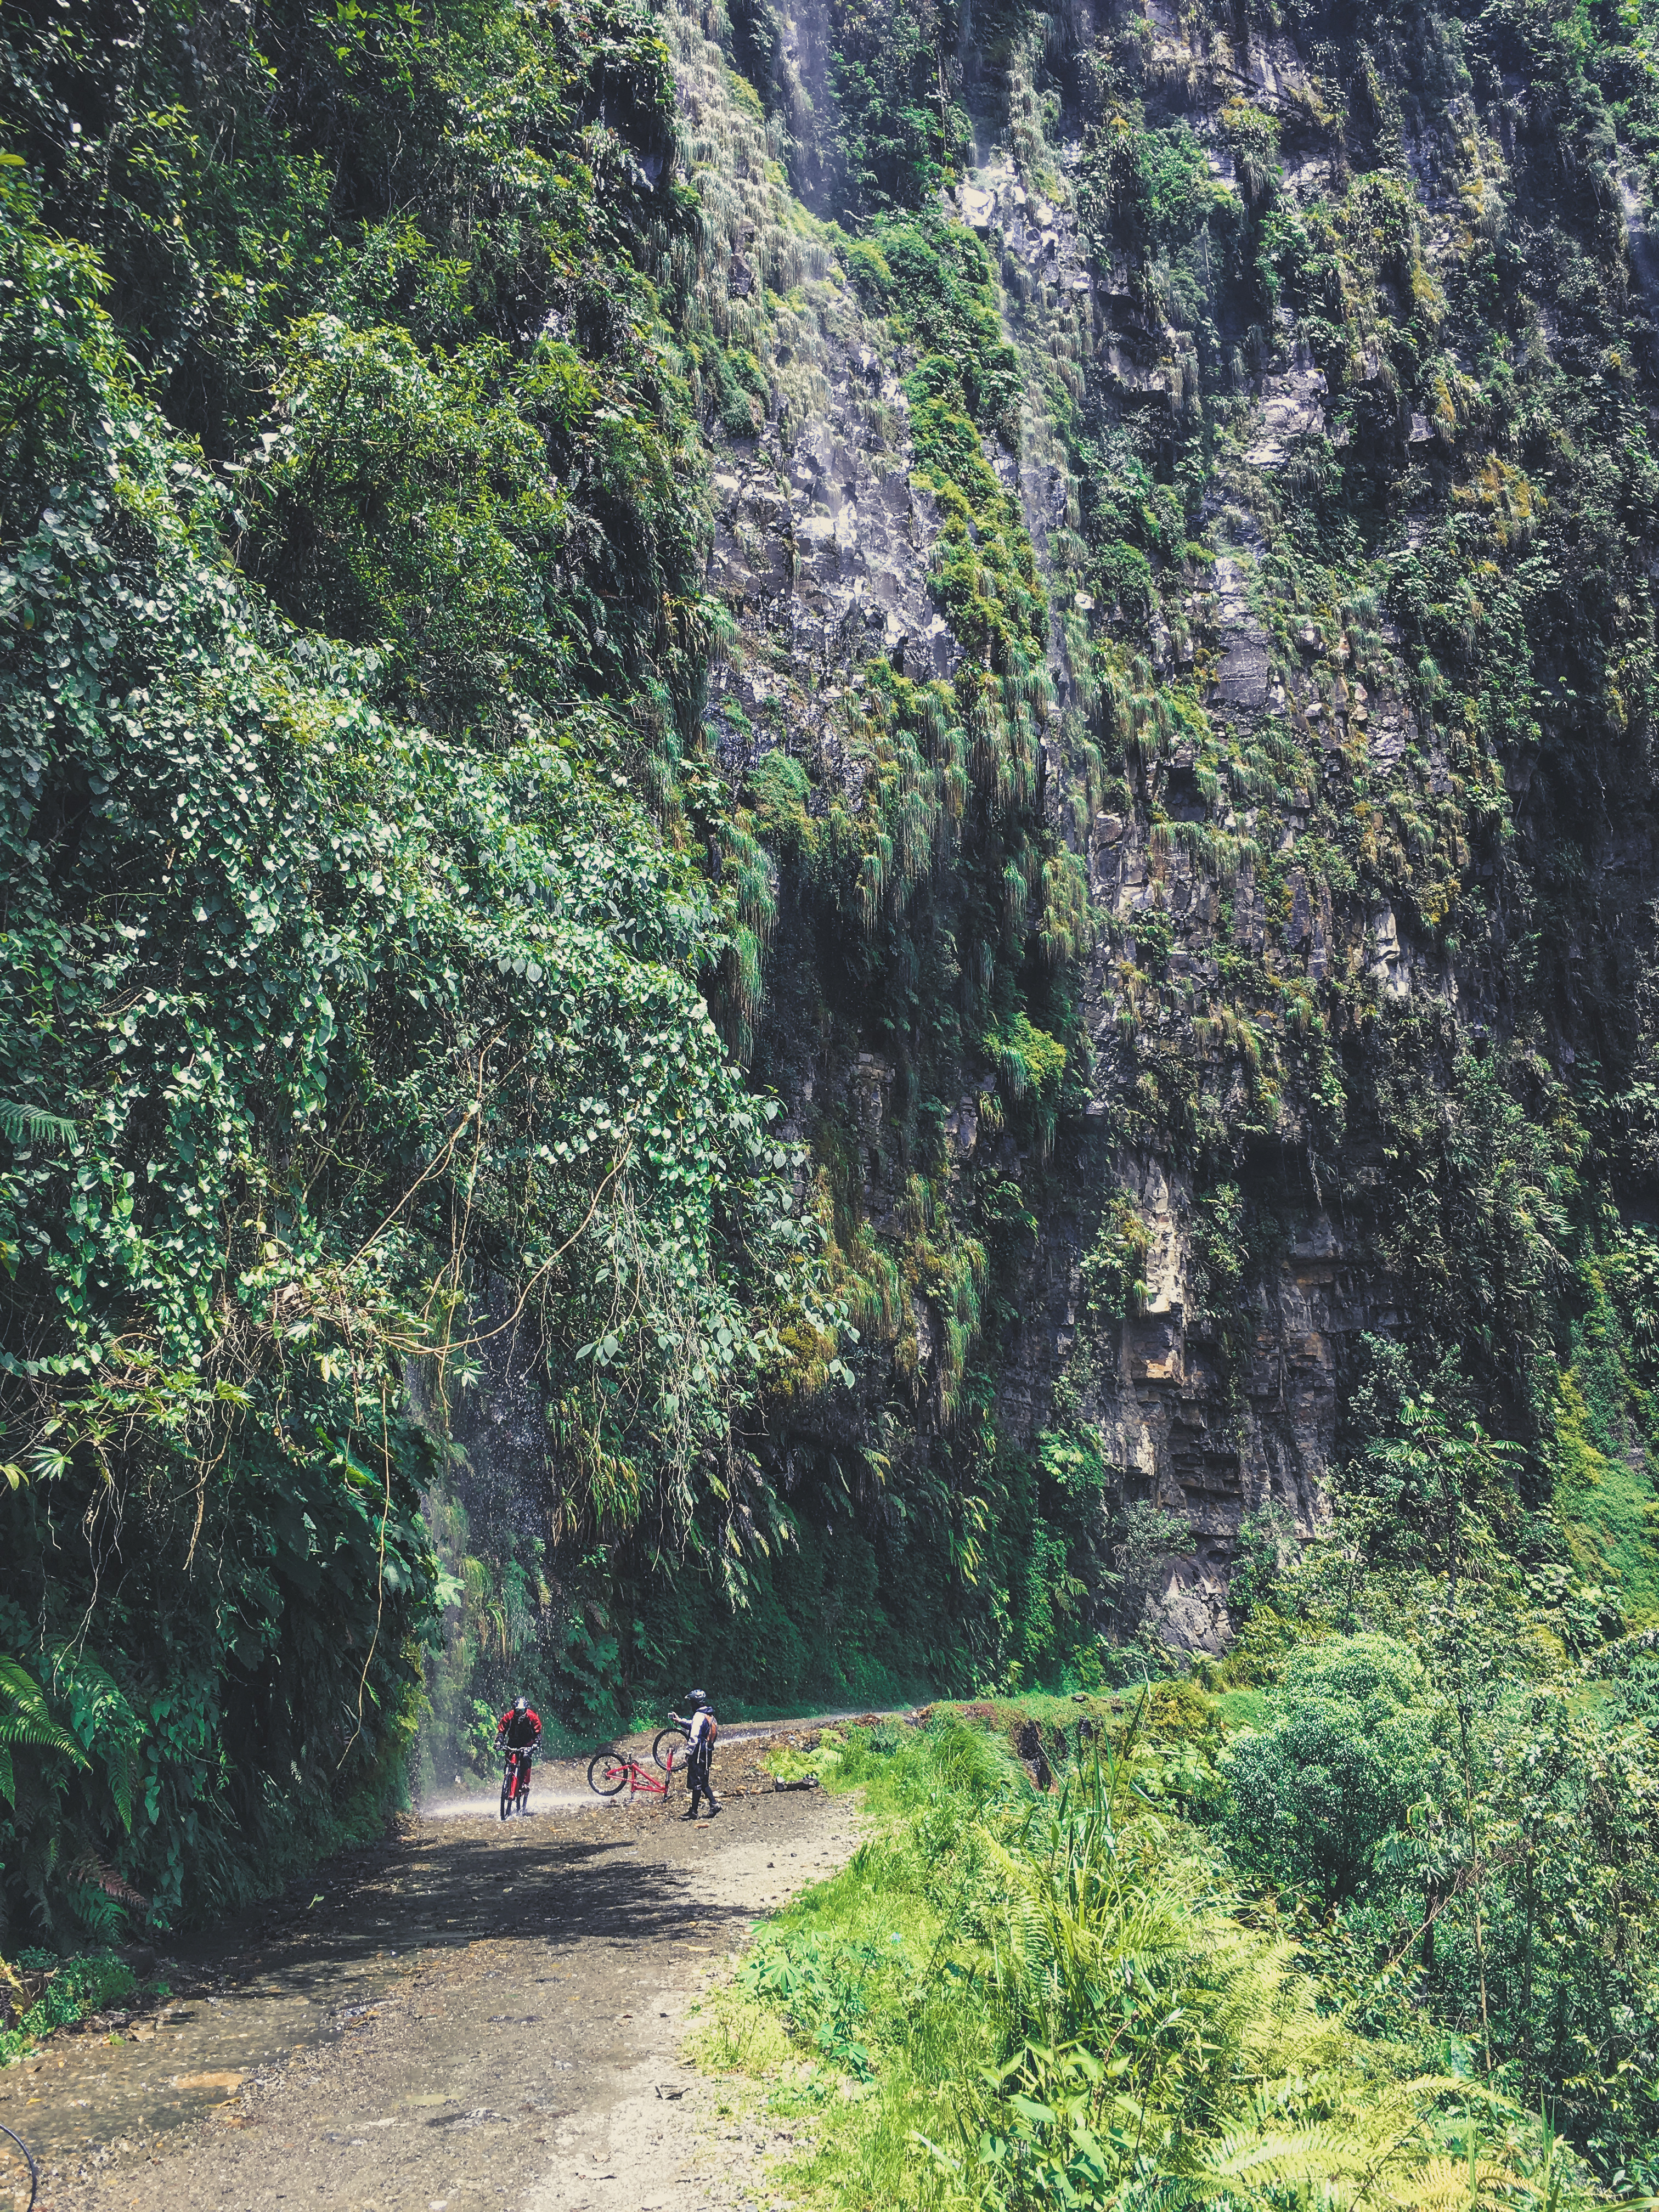
There are lots of waterfalls along the way and everything is completely green. This area near Coroico is absolutely beautiful. If it’s raining a lot the roads will become wet, which is another thing to be aware of when biking this road.

Most of my guides down in South America were amazing. They’re really fun and make you do crazy things for a photo op, like blocking off part of the road and forcing you to ride under a waterfall.

biking worlds most dangerous road bolivia beer

Celebrate Good Times

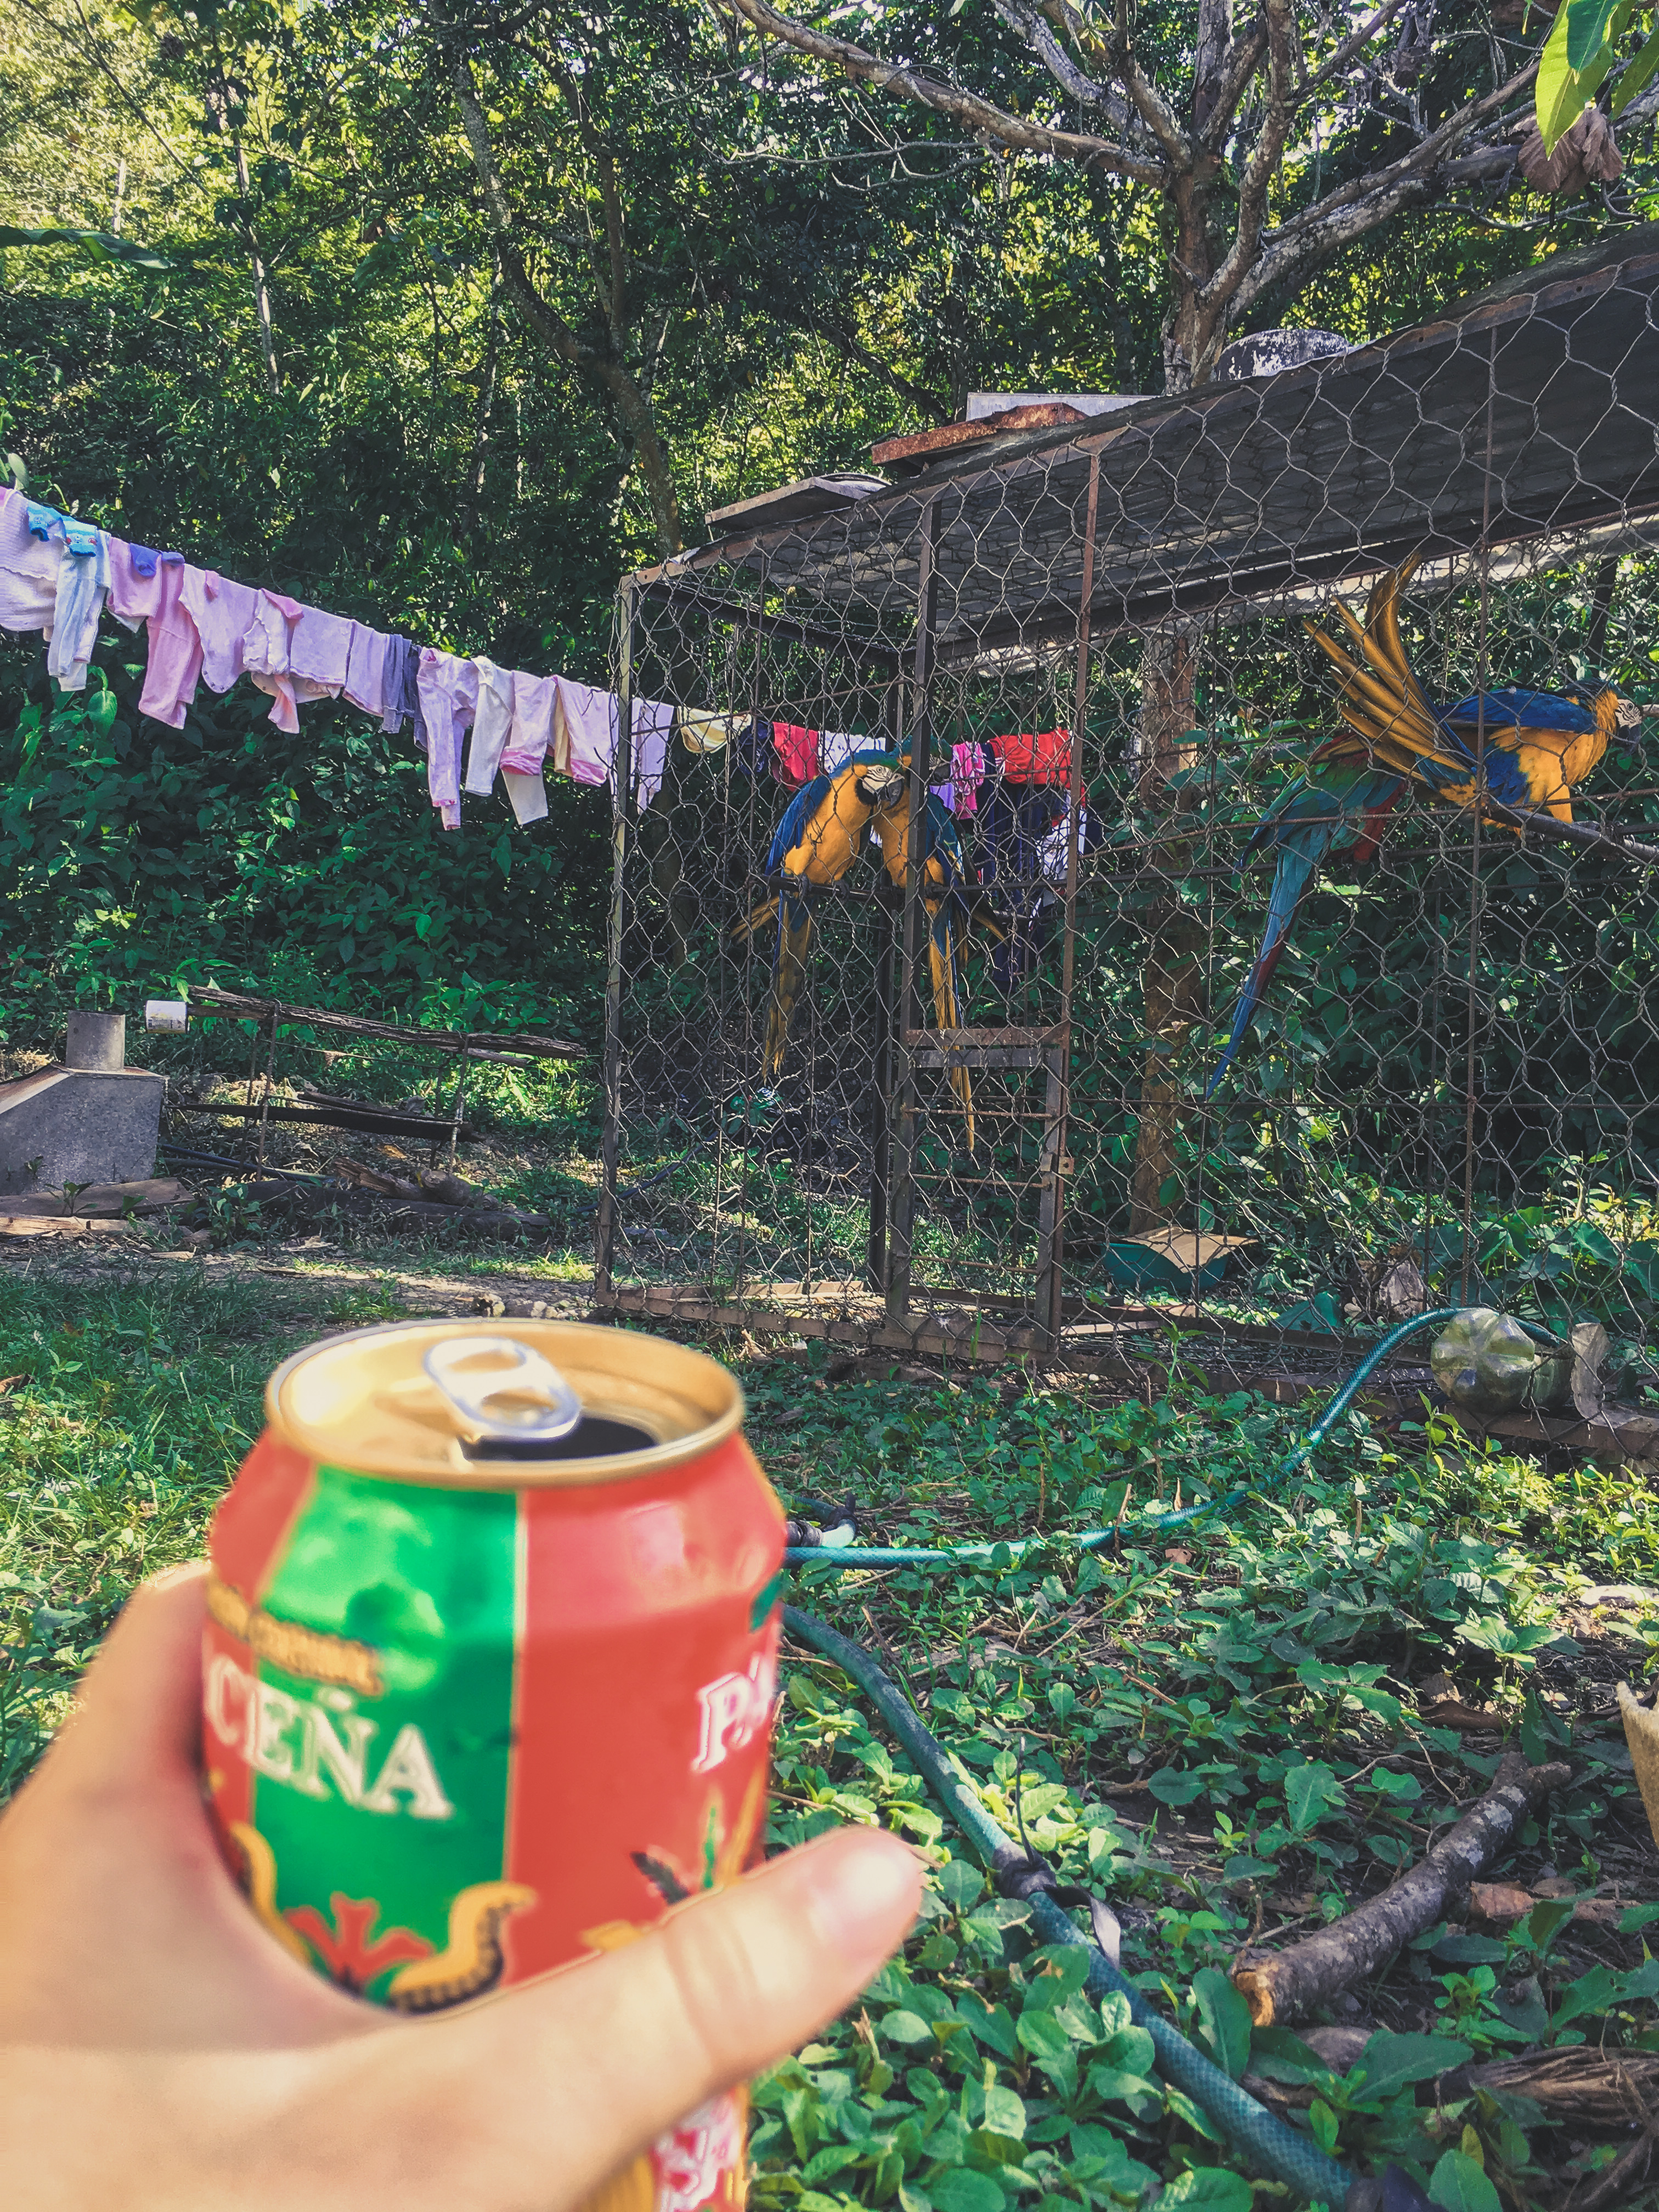
Right before we reached the valley bottom, we took a slight detour. We ended up at a local’s home where we could purchase water, snacks, and celebratory beers! Most of us drank a refreshing Paceña, a Bolivian beer produced in La Paz.

things to do la paz bolivia

We Survived Death Road

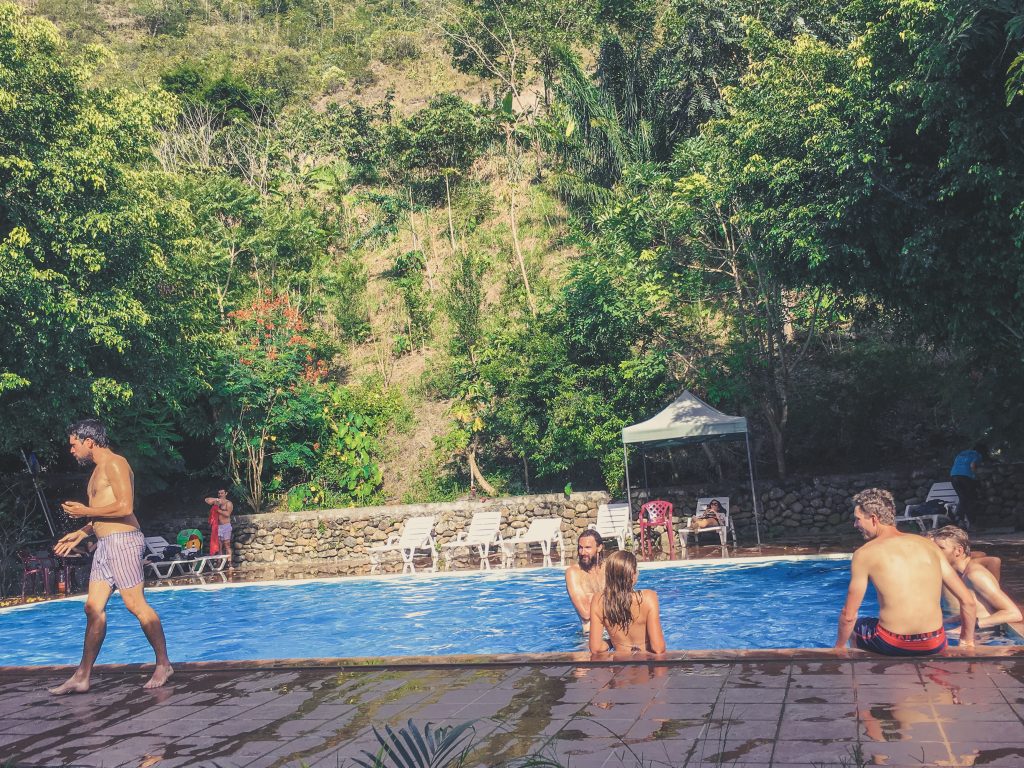
We loaded all of our bikes back onto the Toyota mini-bus, piled in and drove 10 minutes to our final stop on our tour. There was a buffet lunch but there wasn’t much left when we got there. There are many different tour groups that stop at this same location on their tours. There was also a pool and showers.

After eating and relaxing, we hopped back into the mini-bus and drove 3 hours back to La Paz. When we got back, we received a t-shirt that said “I survived Death Road” and a photo CD with all of the pictures that our guide took along the way.

I did it. I survived Death Road! Here is some advice so you can too.

Pro Downhill Biking Review of Death Road

If you want to bike Death Road, you want to go with a safe, trusted, and reliable tour company. If you’re a backpacker like me, you also want value on a budget.

Screw the backpackers budget this time.

I DO NOT recommend Pro Downhill as your tour company for biking Death Road. My only reason for this was the conditions of the bikes. With the amount of accidents that happened and the bikes that were “fixed” on the go, I would not feel comfortable going with them again.

There are plenty of other tour companies around La Paz that you can book with, which I highly suggest.

Tips To Know Before You Go

  • Check out multiple tour companies and ask them about safety
  • Inspect your bike and gear before you start riding
  • Be comfortable riding a bike so you know how to react to passing cars and other cyclists
  • Take it slow and pay attention around corners
  • Adjust to the altitude to ensure you feel 100% when you’re riding

Things To Bring

  • Water
  • Snacks
  • Extra layers
  • Sunscreen
  • Sunglasses
  • Bathing suit
  • Towel
  • Insect repellent
  • Clean clothes
  • 25 bolivianos
  • Beer money

Would you bike the “World’s Most Dangerous Road”? Let me know in the comments!

5 Best Hikes in Rio de Janeiro 

best hikes in rio de janeiro brazil

There’s more to Rio de Janeiro than white-sand beaches, deep-blue seas and tropical cocktails. The city is flanked by gorgeous mountains and is home to Tijuca National Forest, the world’s largest urban forest. You’d be surprised to see how many hiking trails offer incredible views over the city.

Whether you’re used to crushing mountains in Alaska or simply want to work for that caipirinha tonight, you’ll definitely find a trail that’s worth it.

So, here’s what I found to be the best hikes in Rio de Janeiro.

Best Hikes in Rio de Janeiro

1. Corcovado & Cristo Redentor (“Christ the Redeemer”)

Cristo Redentor Christ the Redeemer Hike rio

Hiking to the top of this 710-meter granite peak will reward you with panoramic views of the city and one of Rio’s most popular attractions, Cristo Redentor. The trail starts in the beautiful Parque Lage (free entrance), filled with monkeys, caves and was featured in Snoop Dogg and Pharrell’s music video.

During your ascent, you’ll climb mostly shaded rainforest and use a chain rope to get up a short stretch of rock. The last 20 minutes of climbing are a lot steeper. After crossing the train tracks, you’ll arrive at a paved road which will take you to the entrance to Cristo Redentor (R$24, Adult).

From the top, you’ll have the option to hike back down or purchase a ticket for the train or a van.

Time: 3 hours

Location: Parque Lage – Jardim Botânico

2. Dois Irmãos (“Two Brothers”)

best hikes in rio de janeiro brazil

Dois Irmãos is the perfect hike to experience a favela and see the city from another perspective. The beautiful pair of mountains tower over the edge of Leblon Beach and breathtaking views include Christ the Redeemer, Lagoon and Sugarloaf Mountain to the east and Rocinha, São Conrado and Barra de Tijuca to the west.

The trail starts behind a football field, Campo do Vidigal. A short, easy-going hike to the top should take less than an hour. More than half of the trail is exposed to sunshine but if you run out of water you can buy some from a cart that sits at the top.

Cheap thrill: Skip a long walk and take a moto-taxi for an exciting ride through the favela to the start of the trailhead (R$10, one way). Helmets are included!

Time: 2 hours 

Location: Dois Irmãos – Vidigal

3. Morro da Urca & Pão de Açúcar (Sugarloaf)

sugarloaf mountain best hikes rio de janeiro

Standing at 396 meters, Sugarloaf Mountain is another popular attraction in Rio de Janeiro. Hiking to the shorter summit is easy and takes 30 minutes. From the summit, you can enjoy views of Copacabana, Christ the Redeemer, Niteroi Bridge and Guanabara Bay.

In order to climb to the top of Pão de Açúcar, you’ll need to hire a guide and put on some climbing shoes. A steep trail to the top takes about 90 minutes with 10 meters of rock climbing.

Another option to reach the summit is by cable car. Passengers can take two cable cars. The first cable car takes you to the shorter summit of Morro da Urca, 220 meters. The second cable car takes you from Morro da Urca to the top of Pão de Açúcar.

By hiking, you can still take a cable car to the top of Pão de Açúcar (tickets must be purchased at the bottom) or enjoy a quick ride down (R$10, Student).

If you go on a clear day, be sure to stay for an incredible sunset!

Time: 1 hour

Location: Sugarloaf Mountain – Urca

4. Pedra Bonita

pedra bonita best hikes rio

Pedra Bonita is an incredibly easy hike that offers similar views to the more difficult Pedra da Gávea hike (pictured in background). The trail is mostly sheltered by trees and it’s not uncommon to see wildlife, such as birds, butterflies and monkeys.

After a 30-minute hike to the summit, you can enjoy views of the beaches of São Conrado and Barra da Tijuca and watch hang gliders as they make their way to a beach landing from the only gliding ramp in the city.

One of the easiest ways to get to the trailhead is by Uber (cheaper than a Taxi). You can also take the metro from the city to São Conrado and then take a bus outside of the metro station up to the trailhead.

Time: 1 hour 

Location: Pedra Bonita – São Conrado 

5. Pedra do Telégrafo

hiking in rio de janeiro

Pedra do Telégrafo is an insta-worthy hike. But it does come with a price. Traveling to the trailhead from the city takes about 2 hours unless you take a car and by the time you get to the infamous rock, you might have to wait in a line for an hour or longer just to take a few photos.

Reaching the rock takes 45 minutes and from there you’ll have a chance to stand on top of or hang from a large, sharp rock, which isn’t actually very far off the ground. With the right camera angle, you can trick all of your friends and make it appear like you’re a crazy person that is about to fall really far down the mountain.

Even if you’re not a finatic about this epic photo opportunity, views from the summit are still worthwhile. Enjoy panoramic vistas of nearby beaches and mountains. Make sure you get there early because the sun will disappear behind the mountains.

Afterwards, you can spend time walking around this unique fisherman village and eat a plate of fresh seafood.

Time: 1.5 hours   

Location: Pedra do Telégrafo – Barra de Guaratiba 

THEN THERE IS THE ONE MOUNTAIN THAT GOT AWAY…

6. Pedra da Gávea

rio hikes

Pedra da Gávea is claimed to be the ultimate hike to do in Rio de Janeiro. The mountain is the world’s largest monolith, providing breathtaking views of the city and making the perfect place for some badass photos.

Unfortunately, I wasn’t able to experience it for myself during my time in Rio. I spent many days trying to figure out if I actually needed a guide or not due to the fact that the advanced hike is very steep and requires a bit of climbing. The infamous “Carrasqueira” is a 30-meter high wall of rocks near the top and it’s recommended to use proper climbing gear.

I heard of hikers that go on their own and the Alaskan in me wanted to do the exact same thing. I procrastinated for too long and ran out of days.

It’s up to you to decide if you want to pay for a guide or go on your own. Either way, my advice is to wear proper hiking shoes and bring food and plenty of water.

Time: 6 hours

Location: Pedra da Gávea – Barra da Tijuca 

Rio de Janeiro didn’t disappoint when it came to hiking. It was a lot of fun to see Cristo Redentor from different parts of the city. If you have the time, I highly recommend experiencing a few of these hikes for yourself.


Read Next

My 9 Favorite Small Towns in South America

The Reality of Your Favorite Instagram Photos


Did you enjoy this post on the 5 best hikes in Rio de Janeiro? Pin it for later!

Best Hikes in Rio de Janeiro Brazil

Do you have any questions about hiking in Rio de Janeiro? Leave them in the comments section!